Welcome to Week 3 of the One Room Challenge, in which I’m trying to make our shoddy mudroom look and function better on the cheap. My previous two posts (Week 1 and Week 2) documented work done in 2016. This post is about a project I started and finished within the past week: a simple doorway storage area.
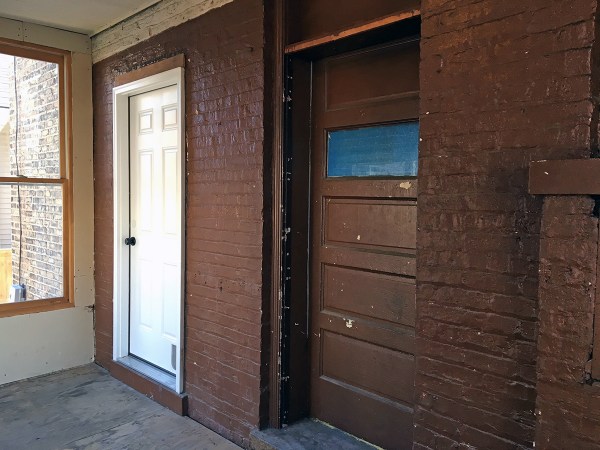
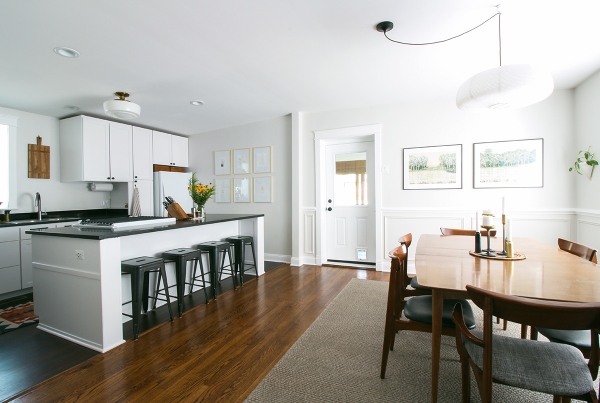
As I mentioned in my first ORC post, the door on the right (above) was the original back door to our house. When a previous owner renovated, they installed a new door and drywalled over the old door on the kitchen side. The original doorway is where my brass frames are now, and I replaced the other door as part of my kitchen remodel.
On the mudroom side, they left the old door exposed. We only have one closet on our first floor – a coat closet in our entryway – so I decided to turn this doorwell* area into a broom closet nook.
* I searched Google to see if door well/doorwell is a compound word or not and learned it isn’t really used very often in either form! I thought it was a common architectural term, but I guess not. A lot of the online references I found were about Meghan Markle closing her own car door, because this tweet contains “door well.” Anyway, we can move on from this word nerd digression…
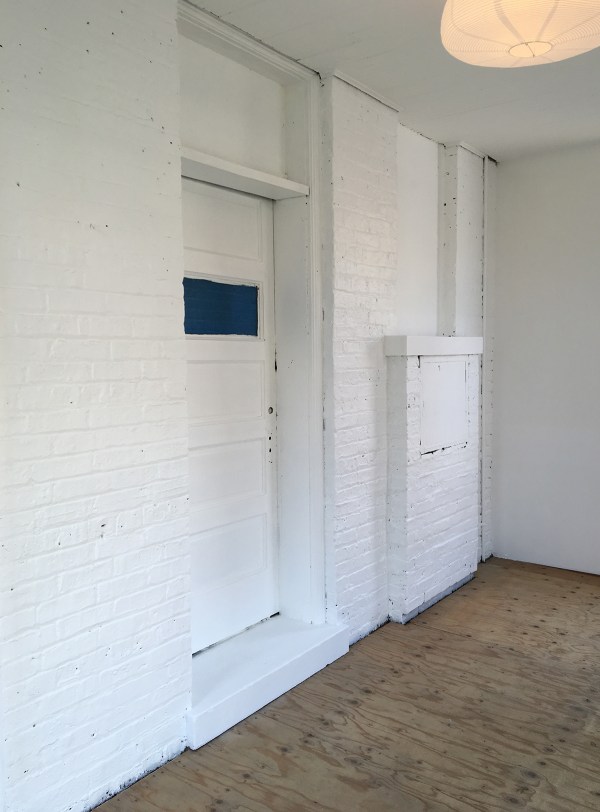
Someone taped over the door glass on the interior side, which… ugh. Why. It just looked gross.
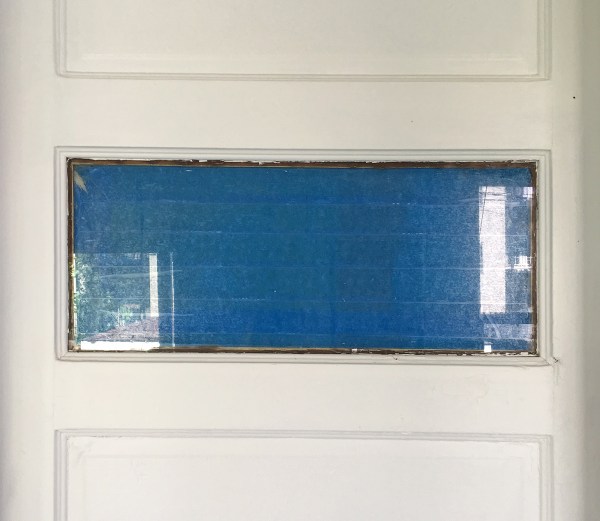
I cut a piece of mat board to fit, painted it, and used spray adhesive to adhere it to the glass. Next, I installed a line of hooks. I like the simplicity of these screw-in metal hooks – they’re formed from a continuous piece of steel wire.

I bought a set of antique ones on eBay for a few bucks. You can also buy them new (e.g. from House of Antique Hardware), but they’re plentiful used: search eBay for terms like vintage bent wire hook.
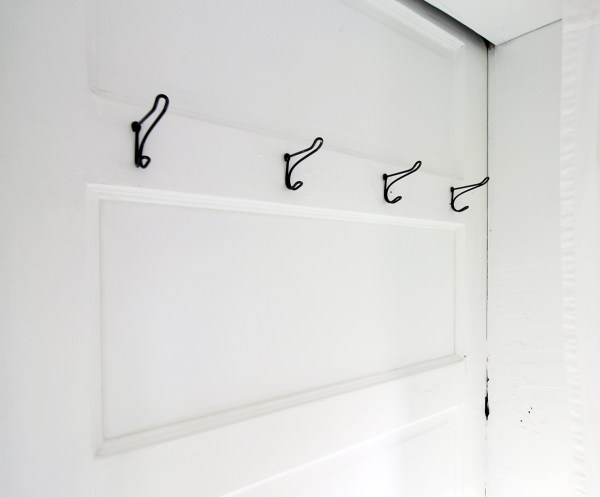
I screwed them straight into the wood door, EZPZ.
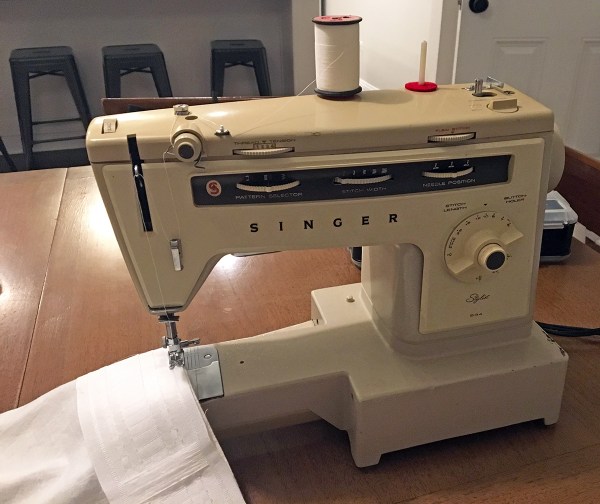
To cover the storage area, I went with a curtain. I had two spare curtain panels on hand: one was the fabric I wanted to use, but the other had the IKEA Kronill pleating tape I prefer for tidy, consistent pleats. To avoid having to buy a new curtain, I decided to remove the pleating tape and sew it to the top of the other curtain panel. This meant I had to use the scariest power tool in my collection: the sewing machine. I am not a sewer. I usually pay to have things professionally altered, but the ORC time crunch and my desire to finish this mudroom as cheaply as possible spurred me to DIY this. So, I dusted off my hand-me-down vintage Singer and got it done.
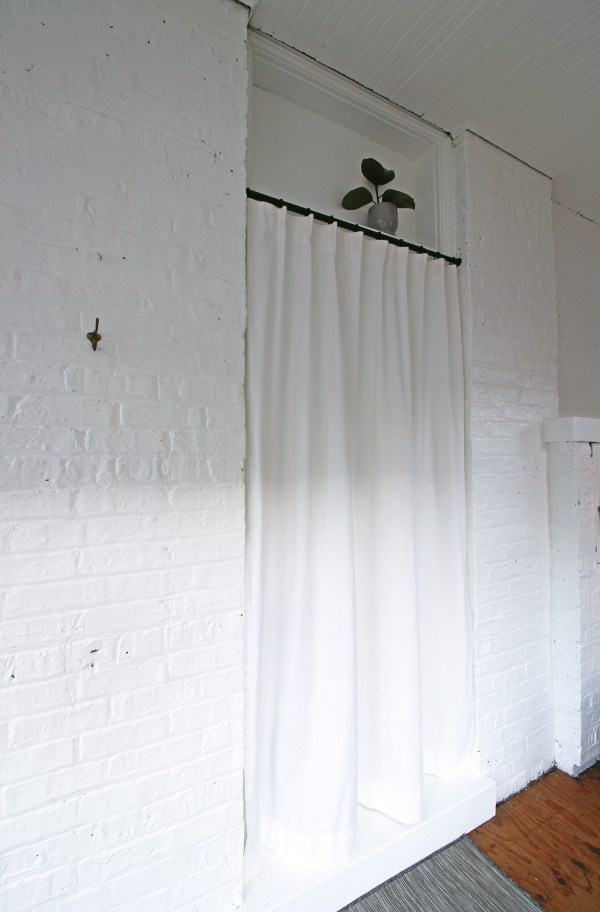
The curtain is hung on a black metal tension rod I bought on Amazon. I had planned to mount the curtain at the very top of the doorway. When I tried that, however, it looked too grand and it drew attention to itself in a “Pay no attention to the man behind the curtain!” kinda way. (Also, please pay no attention to the rug below the curtain – I’m still figuring that out.)

I decided to lower the curtain to align it with the door header, which meant I had to hem the bottom. That’s right: I sewed again. It was actually pretty easy! I’m not saying I’m a hero, but I won’t stop you from drawing your own conclusions.
That’s it! The closed curtain easily hides all the stuff this doorway contains.
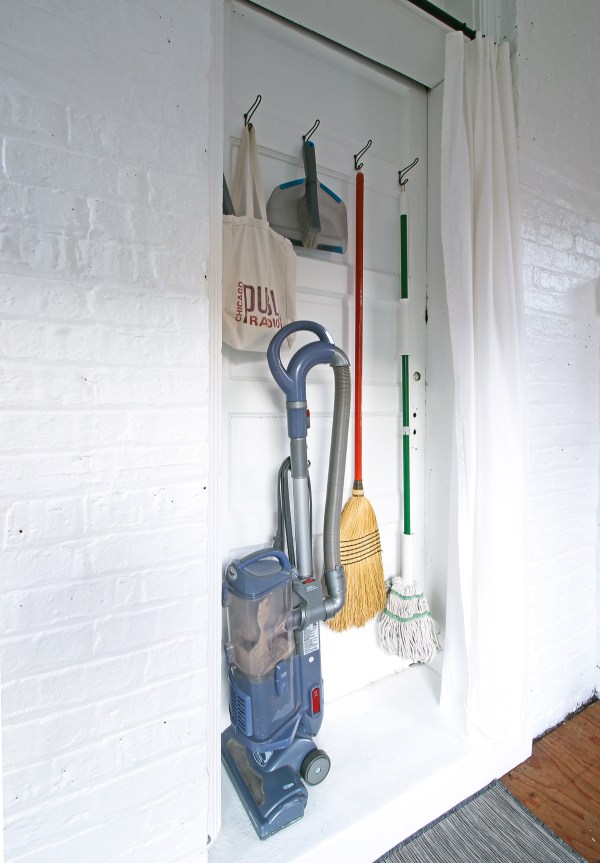
And here’s the broom closet loaded up with our broom, mop, dustpan, vacuum, and Chicago Public Radio tote bag that holds all of our vacuum accessories because our dumb vacuum doesn’t offer very good built-in attachment storage.

In the posts to come: more storage, more plants, shades, and cat amenities.
P.S. If you’re a new reader, welcome! Please check out the Bungalow Tour page for an introduction to our house.
You can check out all the other guest participants on the ORC website.
New posts go up every Thursday.


Great use of the space. I think I like it with the curtain open
What a perfect solution, Marti. I love it. You are a hero with your sewing! There was a time that I sewed for a living, and now I’m so over it.
Also, if you ever need more of those hooks, send me a message. I have a ton of them, and I can spare a few.
I’m loving where you are going here. Can’t wait to see the reveal.
The hero we need and deserve. I’m sew into it.
This is obviously a late comment, but I’m a new reader and I’ve been catching up from the very beginning of your blog (to really enhance the whole “I feel like I know and am friends with this random stranger on the other end of the internet” lol) … but a random observation about that exterior door. I have a background in historic preservation, and I know that some historic homes (if they’re designated, or if they’re in any sort of historic designated area) that do renovations inside usually have to deal with SOHP (state office of historic preservation) and get all plans approved, and often these plans involve keeping all exterior appearances as unaltered as possible. Thus, walled off doors that are left visible on the exteriors. Not saying this is the case here, but just a random factoid. Of course, this unaltered exterior was then completely altered with the tacked on enclosure, so it’s all moot for this particular situation lol. And the painters tape on the inside of the door … smh. So all that aside – I love this solution for that funny little space. Nicely done. :)