Just 2 weeks left in the One Room Challenge! Participating has definitely been fun and motivating for me – I have to plan out my projects to both get sh*t done and to ensure I have something worth reporting each week. Today, I’m focusing on the south wall of the mudroom.
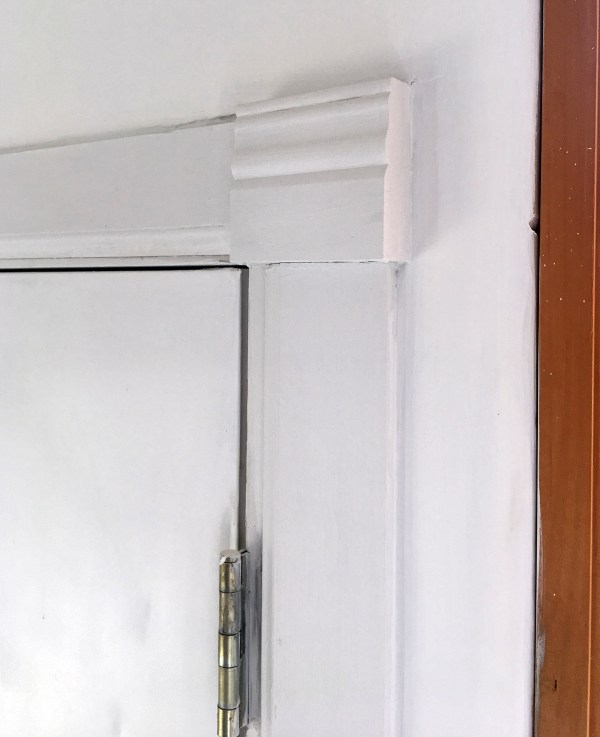
The original door trim was in need of improvement. For this corner piece, someone used a piece of plinth block…? It was the saddest thing I’ve ever seen.
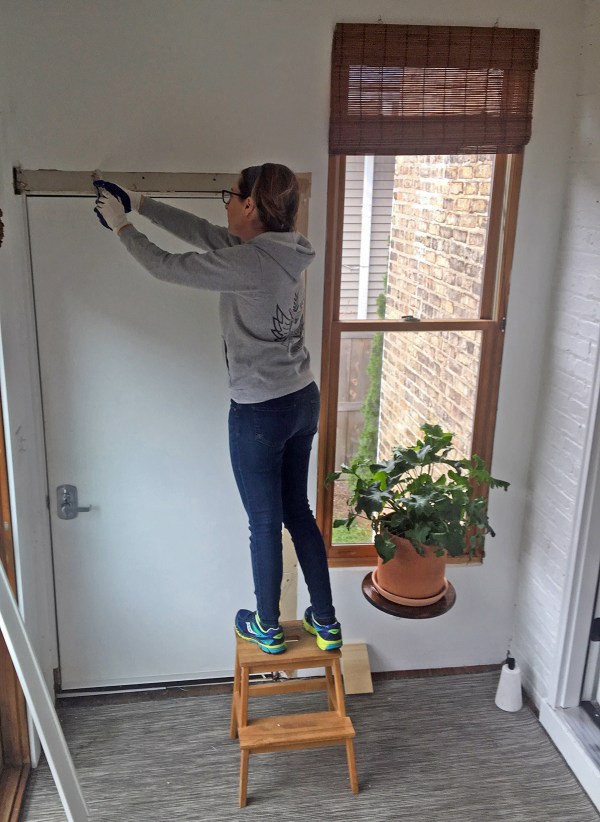
I removed the moulding around the door. Here’s me pulling out nails – I feel like I need to occasionally show pics of me working to prove it’s not, like, house elves doing everything around here. It’s me, wearing hideous sneakers (which are somehow even worse from the back – this may be the saddest thing you’ve ever seen).
I installed new trim and new black hinges as well. Replacing crummy hinges with nice ones is so easy, and it makes a bigger difference than you’d expect.


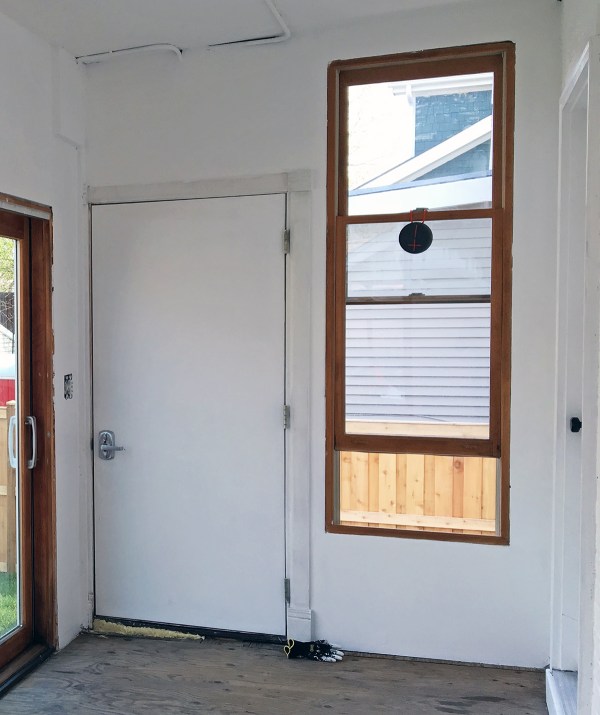
I stacked pieces of pine and trim to make a simple craftsman header for the top of the door. I also did many hours of work to improve the water-tightness of the sill below the door, but it’s far too boring to get into.

You probably noticed the new shade in the photos above – it’s a Hampton Bay Caramel Simple Weave Flatstick Bamboo Roman Shade. I bought two of these shades at our last apartment: I never got around to installing them there (oh well) and then I never got around to returning them (oops). But it all worked out because they’re great in here! I totally lucked out on the width being the perfect size. And, Home Depot still carries them, so I was able to order matching ones for the remaining window and sliding door (you’ll see that in future posts).

Here’s Lola, helping me out.

So helpful! Lola’s one true love is string. We’ll give him a piece of twine to play with sometimes, and he’ll carry it around the house, yowling with emotion. He will even put it in his water bowl, which is some weird-ass possessive feline behavior. Jarrod and I call it String Madness.

The shades are purely decorative – we could raiser/lower them, of course, but we never do. Form over function isn’t my usual M.O., but this room needed them. As I mentioned in a previous post, the scale of the mudroom windows doesn’t make any sense. They’re far too tall. These shades visually shorten the window height, the wood adds warmth, and they make the otherwise rough windows look more finished.
Below the window, I DIYed a plant shelf with a $3.50 metal bracket and a $12 pine round. This Everbilt bracket is heavy-duty (it holds up to 150 lbs), which is needed because soil – especially wet soil – is super heavy.

I stained and sealed the pine wood using the same materials I used on our kitchen butcher block shelf.

I cut the back couple of inches off the circle using my table saw, so the shelf sits flush against the wall. There isn’t a stud centered below the window, so I installed it with some serious toggle bolts.
Before: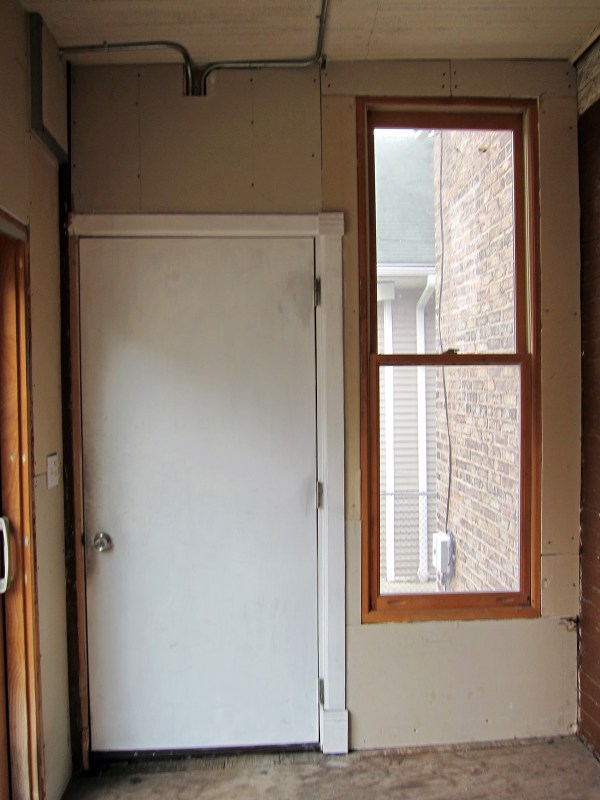
After! (Or perhaps I should say “Progress!” – I may install a baseboard after I finalize the rug situation.)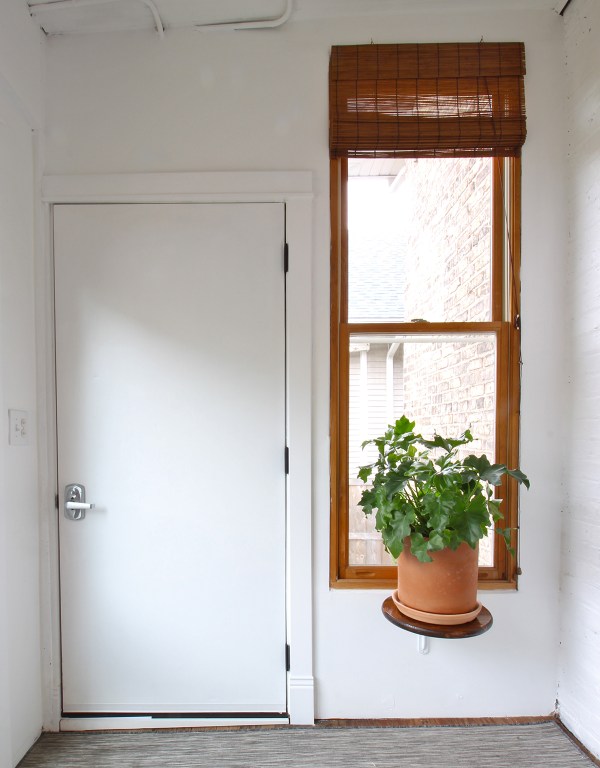
The size of the shelf is the perfect radius for a 10″ pot, but not a 10 lb cat. Lola can’t fit up here, which keeps the plant safe from his omnivorousness. I picked up the planter for $12 from the Habitat ReStore on Pulaski. If you’re local, I enthusiastically recommend this place. They usually have a nice selection of cheap planters.

The plant is a philodendron of some sort – the label said it’s a split-leaf, but the leaves don’t look at all like the leaves of the other split-leaf philodendron I have. It won’t be able to stay out here all winter because it gets too cold, but so far it’s been chill-hardy.
Two more posts to go! I’m excited to wrap up this space and share the whole room with you.
Previous ORC posts:
- One Room Challenge Week 1: Mudroom Makeover
- ORC Week 2: Drywall Finishing and So Much Painting
- ORC Week 3: Doorway Broom Closet
You can check out all the other guest participants on the ORC website.
New posts go up every Thursday.


I’ve seen some pretty bad rooms on houses we’ve bought and this one WAS right up there. You’ve have great imagination combined with real skills. I would have hung my head in defeat but it’s been fun watching this room come to use and life.
PRINCESS, WHEN I FIRST SAW THE WINDOW SHELF, I THOUGHT IT WAS FOR YOUR CAT SOAS IT MIGHT LOOK OUT
On Wed, Oct 24, 2018 at 11:00 PM Project Palermo wrote:
> Marti posted: “Just 2 weeks left in the One Room Challenge! Participating > has definitely been fun and motivating for me – I have to plan out my > projects to both get sh*t done and to ensure I have something worth > reporting each week. Today, I’m focusing on the south wall” >
Well, just got caught up – love that door/broom nook. Excited to see what you do for the floor of this space. I’m having major mudroom jealously vibes right now!