Now that you’ve read about our basement flood and the makeunder that predated it, it’s time for a full tour of this clean and organized workhorse. I’m most proud of two things here: it is super functional for our needs, and it is outfitted with storage solutions that were purchased used and/or cheap (or, even better, free). I’ll include links to things I bought as an FYI, but please know that I don’t think getting organized requires an expensive storage system or a full suite of matching bins.
I’ll start with these fisheye photos to give you an idea of the full space and then move around each area. All of the photos in this post are functional, not pretty – just like the space itself.

You can see in these photos the one area of painted brick that’s flaked away because of efflorescence. Otherwise, our paint job has held up great for five years.

During demo, we left some studs in place as well as the middle walls because they hold electrical conduit and they help demarcate zones.


Settle in – this is a long post!
Jarrod’s adventure zone
On the weekends, I usually work on the house and Jarrod goes on outdoor adventures in and around Chicago: biking, kayaking, birding, skiing, etc. This is his base camp.
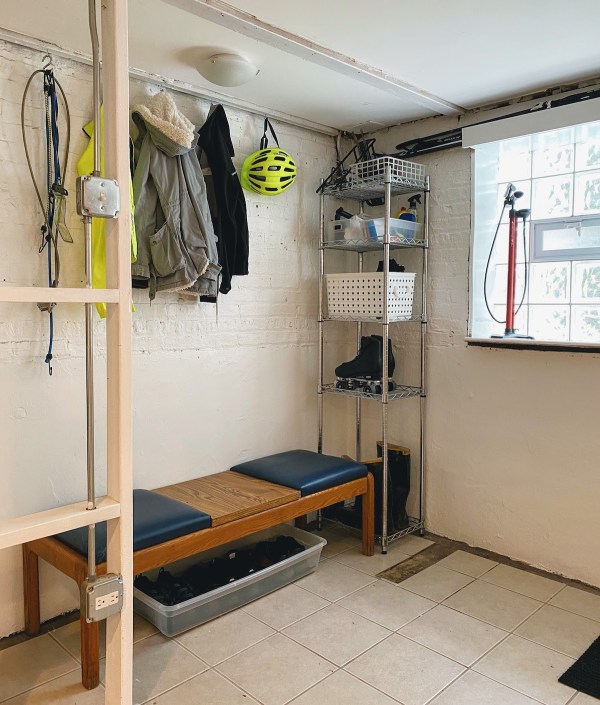
Yes, those are roller skates on the shelf above; it’s the traditional gift for a man’s 40th birthday. Bench acquired for free from Northwestern University’s Surplus Property Exchange; tub below for shoes.

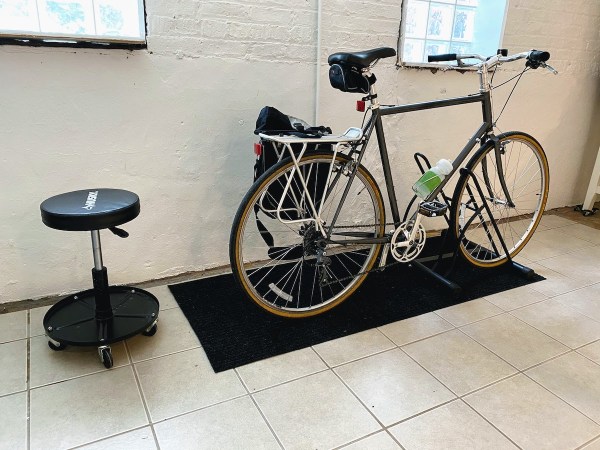
Jarrod’s bike is on a stand that holds it steady when he’s loading up his panniers (or “paninis” as I call them).
I mounted a piece of scrap wood above the window to store his cross-country skis.

Here’s the back door; I tore off some trim after we painted and haven’t gotten around to touching it up. Step ladder on a hook. I’m always a big proponent of keeping stuff off the ground wherever I can, and the basement flood reinforced that instinct.

Pencil sharpener and extension cord.

Laundry room
Not much to say here that wasn’t already covered in Basement Laundry Room Before and After. Fact: that project is one of my most visited and pinned posts, which is what encouraged me to share a full tour. I’m glad people appreciate practical content as much as picture-perfect content.

That rolling cart works as a folding station and a holding area for stuff I’m washing at the sink. Our sewer backup definitely did not abide by the posted “Do Not Pee Pee in Here” sign. Rude! (The explanation for the sign is in the laundry room post.)

Assorted less-used cleaning tools (link to similar rack) – our most frequently used cleaning gear is in the mudroom. My bike, Jarrod’s surplus bike, and the commercial-grade phone line hub installed by a previous owner for unknown reasons.
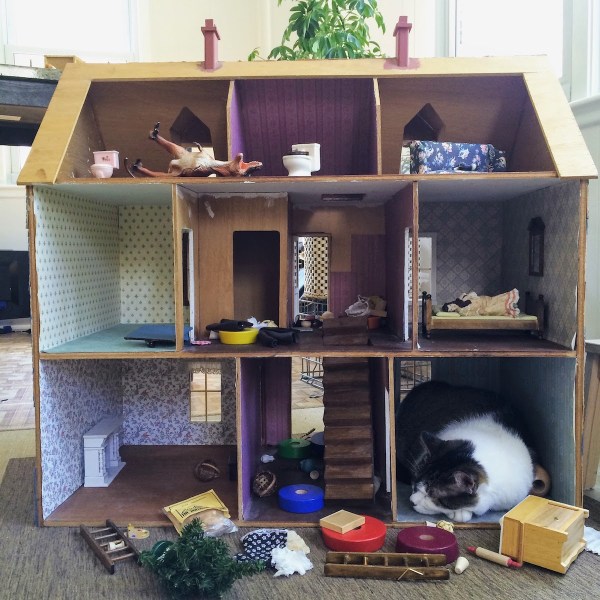
This area is on the other side of the furnace. Shelves purchased off Craigslist, tall trashcan to corral gangly things, and the dollhouse given to us by a college friend (hi, Jen!) – when someone offers you a dollhouse, you say yes.

Just an old photo of Lola I like.
Back to the tour: I cannot stress enough the importance of corralling your stuff.

Storage shelf zone
All of these shelving units were purchased off Craigslist, except the plastic one which was left here by the previous owner.

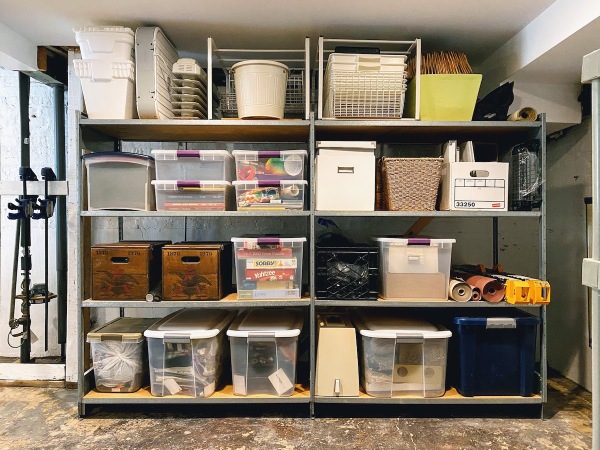
I keep tools in plastic milk crates I’ve collected for free over the years – they’re nice and sturdy (link to similar crates). Baby gate left here by previous owner and saved by me in case, I dunno, we ever need to corral a dog or someone else’s child or something.


I stick BBQ skewers into partially-used caulk tubes.

Corral! Your! Stuff!

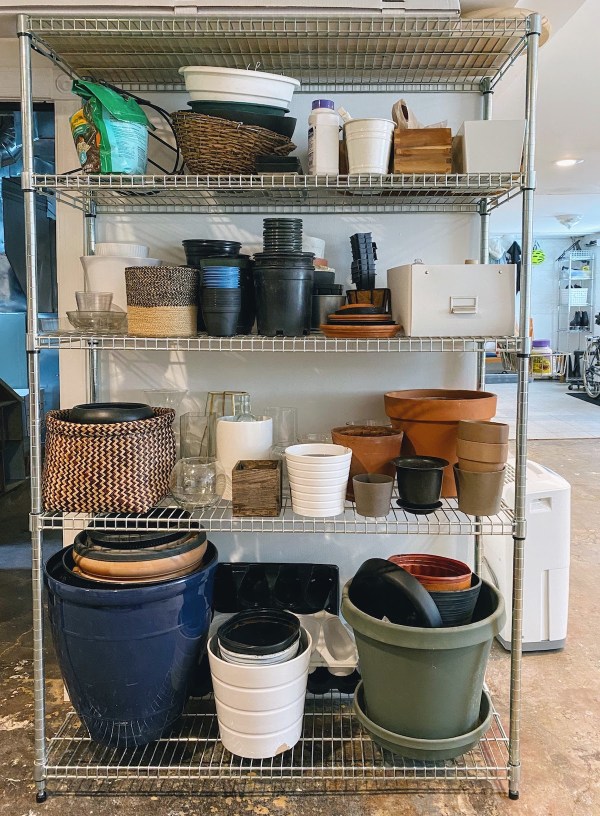
Potting shelves = proof positive I’m turning into my mother (as I’ve mentioned before). Just looking at this collection of planting containers makes me happy.
My work area
This giant work table is usually covered in some in-progress project. Long stretches of trim, lumber, etc. are stored below.

I built the table using these sawhorse brackets, an old door, and a sheet of plywood.

Potting soil in an IKEA SORTERA bin.

My miter saw is on a workbench I built using this Midwest Manufacturing Workmaster Workbench from Menards. I customized it in a few ways. If you’re logged into Instagram, I think this stories link will work. I made platforms for either side of the saw, and I built the bench so the saw section is portable.

Like so! Big fan of these Toughbilt foldable sawhorses, by the way.

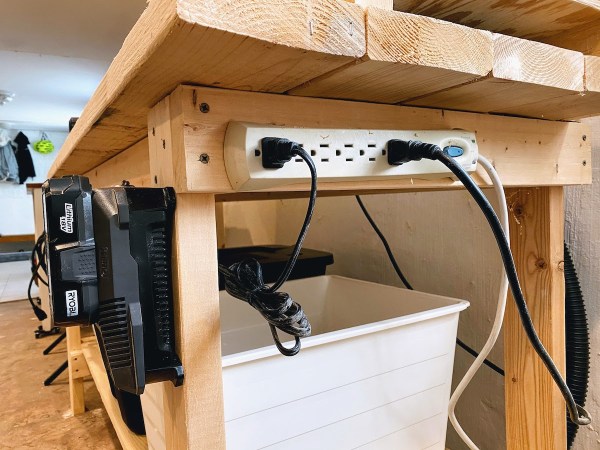
I mounted a power strip on the side for easy access to plugging stuff in, and my Ryobi battery charger on the front.

Laundry basket for wood scraps.

Bin for shop vacuum attachments.

What about that sweet metal hook? Glad you asked. It’s a Studgrabber and I love it. No tools required for installation – it just bites into the wood and can hold a lot of weight.

I take back what I said about not needing to buy things to get organized: everyone should buy Studgrabbers. Get them for your mom as a belated Mother’s Day gift; get them for your dad for Father’s Day; get them for your nieces’ and nephews’ Christmas stockings. There is no one in your life who would not appreciate grabbing a stud with these ingenious hooks. (My friend Ben makes fun of me because he says my blog is 70% about hooks. He’s not wrong. It me.)
IKEA STENSTORP island hack
I bought an IKEA STENSTORP island off Craigslist nearly 10 years ago for our previous apartment’s kitchen. (IKEA doesn’t sell this model anymore; link to the similar TORNVIKEN.) We don’t need it in our current kitchen, so I turned it into a workbench. (Yes, I have a lot of workbenches. I do a lot of work. This was my first one and I acquired the others later. Don’t you judge me!)

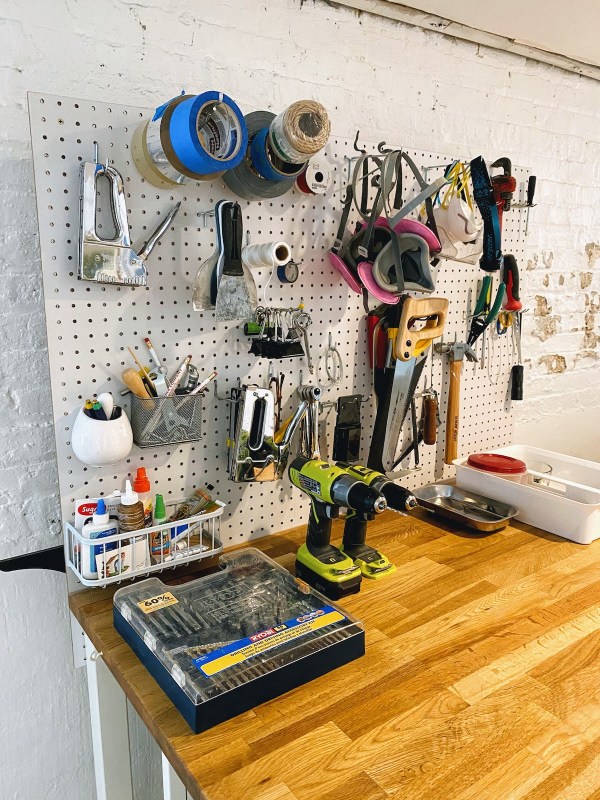
I splurged on some matching clear storage boxes from The Container Store. I put the cart on these tri-wheel rolling dolly things and mounted a peg board to the back. I use the braces to hang long stuff like my level and yardstick.

The pegboard keeps tools and supplies visible and accessible.
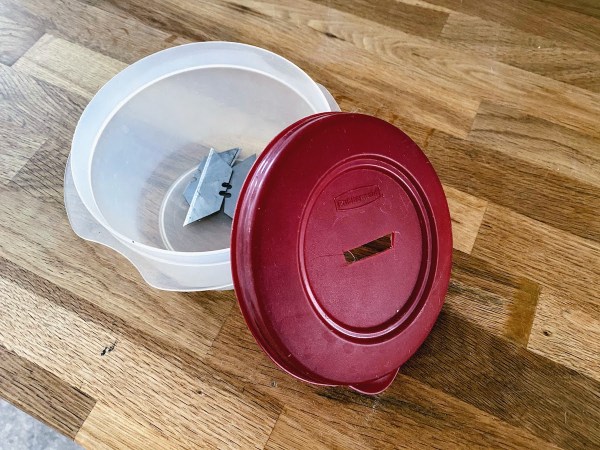
I replace my utility knife blade religiously. I don’t want to throw the used blade directly into the trash, so I kept leaving them all over my project areas. Solution: I made a sharps disposal bin from an old Rubbermaid container.
Okay, one final product recommendation: I far prefer this Bucket Boss over a tool box for lugging tools. I keep all of my MVPs in here and tote it around the house. Five stars; two thumbs up.

Phew, and that’s the end of this three-hour tour!
Long-term plan
As I mentioned in my House Goals for 2019 and Beyond post, I hope to finish half of the basement with a guest bedroom and bathroom. Currently, our house has two bedrooms and they share the upstairs bathroom. This works a-ok for us, but when we host guests it feels a little too close for comfort. It would also be good for our property value to add an additional bed and bath, and a den area would be fun for a cozy sofa and giant TV. Don’t worry, I will not pursue this plan if it does not also allow for plenty of project space as well: the unfinished half is just as important to me as the finished half.
Here’s an imaginary floor plan:

I plan to approach the basement renovation in two phases: 1) getting architectural drawings and installing a waterproofing system toward the end of 2020 or early 2021, and 2) finishing the space in 2022ish. I am super excited about hiring an architect to draw up plans – I’ve never worked with an architect before. I want to know the end goal before I proceed with having drain tile and a sump pump installed (like so).
Then, we’ll wait and watch for at least a year to make sure we don’t have any flooding or sewer backup issues. The worst case scenario would be to finish the space and then get water damage. That’s happened to several Chicagoans I know this spring, including Kim and Scott over at Yellow Brick Home. If we do see any signs of water, we’ll keep the basement entirely unfinished, which would be a-ok as well.
Let me know if you have any questions!

You attached the pegboard to the cart and now when you roll the cart around THE PEGBOARD COMES WITH IT?!?! A work of genius.
And yessss Studgrabbers. If you think about Studgrabbers in terms of how much you are paying for a small piece of bent wire, they seem very expensive. But if you think about Studgrabbers in terms of how much joy they bring into your life, it’s a bargain!
Have you tried the snap-off style utility knives? I have recently acquired a couple (why a couple, Ian? why not just one) and they seem pretty nice. You’d still have a sharps disposal problem, but it’s very convenient to always have a fresh blade right there waiting for you.
I am SO into this. I just moved to Detroit from Florida, and I’ve never had a basement before, so having one now is VERY exciting. I love all of your organizing ideas, especially the many workbenches. I need to get on the workbench train!