Yesterday I shared a quick post about my new entryway chandelier and rug. Now I’m back with a long post on the final change I made in this first wave of improvements: DIY Shaker bi-fold doors for our entryway closet. Here’s where we started:

It’s fine, but I disliked that the closet doors were as much a focal point as the front door: same paneling, same moulding, same color. The focus should be on our home’s entryway, not the bi-fold doors.
Additionally, I didn’t love the exaggerated faux woodgrain – nothing wrong with it, just not my style.

I wanted a smoother finish with Shaker-style trim, which is a better fit for our Craftsman(esque) bungalow.
Reversing the Doors
There are a lot of good guides online from people who have tackled similar projects (e.g. The DIY Playbook and Room for Tuesday), but they started with plain bi-fold doors. I wanted to make do with what I had, if possible, so I decided to try flipping the doors inside out to use of the flush backside.
I started by removing the doors. Then I removed the hinges and drilled through the existing screw holes with a small drill bit. That made it easy to know where to mount the hinges on the reverse side of the door. I flipped the door over and reattached the hinges.

Then I put the door back on its track to see if this harebrained idea worked. It did! The inside out door functioned without problem. So, I proceeded.
I sanded the doors with 220 grit to create a nice, smooth finish.

Selecting the Moulding
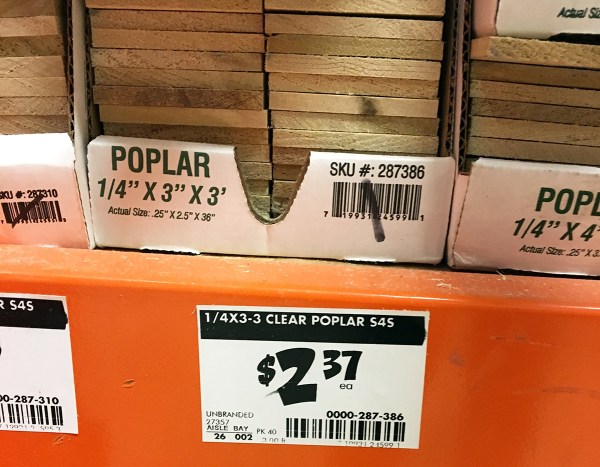
Next step was moulding. I went to Lowe’s and Home Depot to check out their lattice trim offerings. (Note: Room for Tuesday said she used 1 inch thick poplar boards, but that felt too chunky for these doors.) Home Depot had the best options for what I had in mind.

I expected to buy pine lattice, but the oak lattice was a quarter inch wider. This small difference made the trim feel more substantial.

Oak cost about $20 more total than pine, which was worth it to me to have the proportions that felt best. For the top and bottom pieces, I went a step wider and bought 3 inch poplar project boards. (I think even wider horizontal pieces would look great, too.)
Attaching the Trim
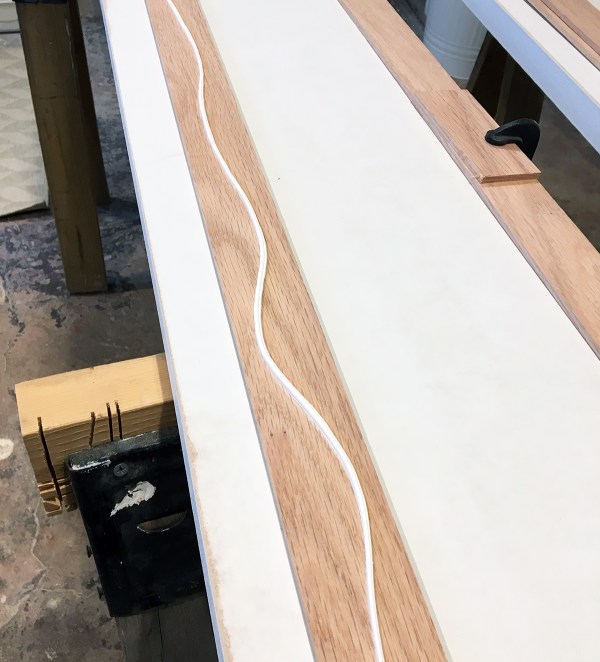
I cut the trim to size, starting with the vertical pieces and then adding the horizontal sections. I used Liquid Nails to affix the trim.
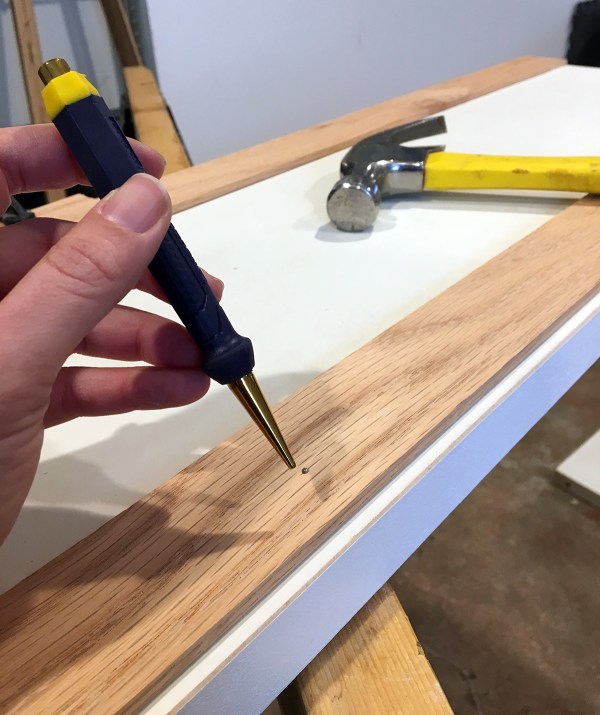
I also used finishing nails at the top and bottom, and at a few points in between. I held them in place with long nose pliers to save my fingers from hammering.

I sunk the nail using a nail setter. I picked up this Kobalt 3-Piece Titanium Nail Punch Set at Lowe’s and it’s been super handy.
I chose to do a simple Shaker style, with moulding around the perimeter of each door and no additional horizontal pieces, because my goal was to make the doors less of a focal point. I don’t need a fancy closet. Also, this style coordinates with our nearby kitchen cabinets, and this house is in bad need of cohesion.

You need to set the trim inside the outer edge or else the door won’t be able to open. When I first read that guidance online, it took me a bit to understand why, so here’s a visual aid that maybe (?) helps…
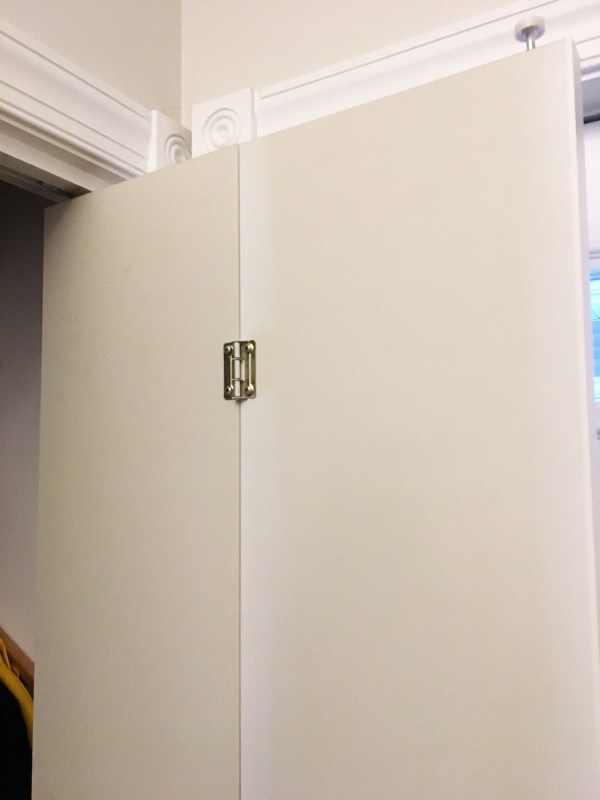
When the door is shut, there is plenty of space between the door frame and the edge of the door:
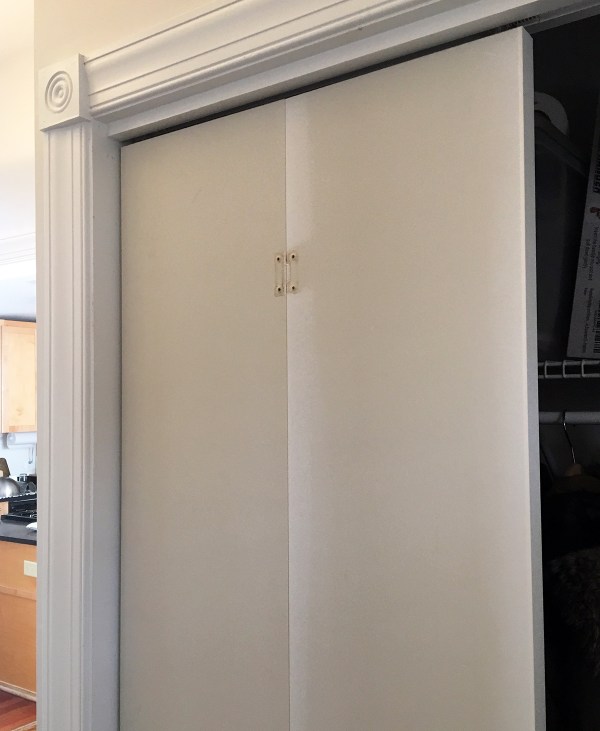
But the angle of the opening door takes up more space. You need that extra room for the trim to clear the door frame: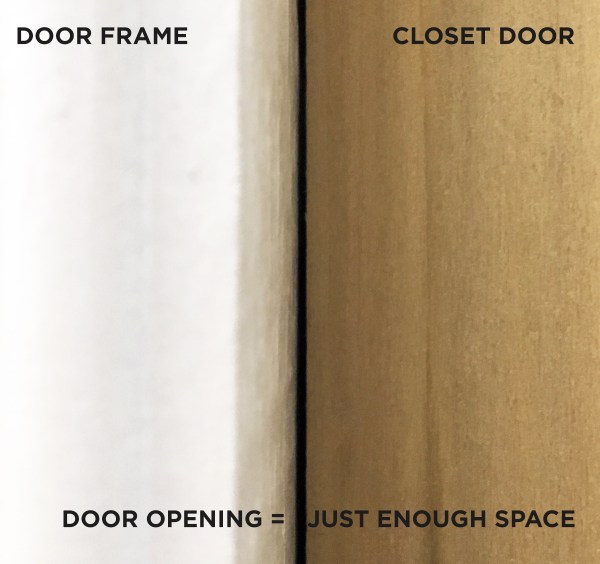
I set the moulding about 0.25″ inside the outer edge of the closet door. The “right” position depends on how thick your trim is: the thicker the trim, the more space you’ll need. Before I proceeded with painting, I rehung my first door to double-check that everything was still functioning properly.

Then I spackled the wood seams and nail holes, did a final sanding pass, and caulked any gaps between the moulding the door. Finally, it was time to prime and paint. Painting is, as we’ve established, the worst task in the world. I got through it, but I failed to document it.

The Finished Product
We went from white bi-fold doors: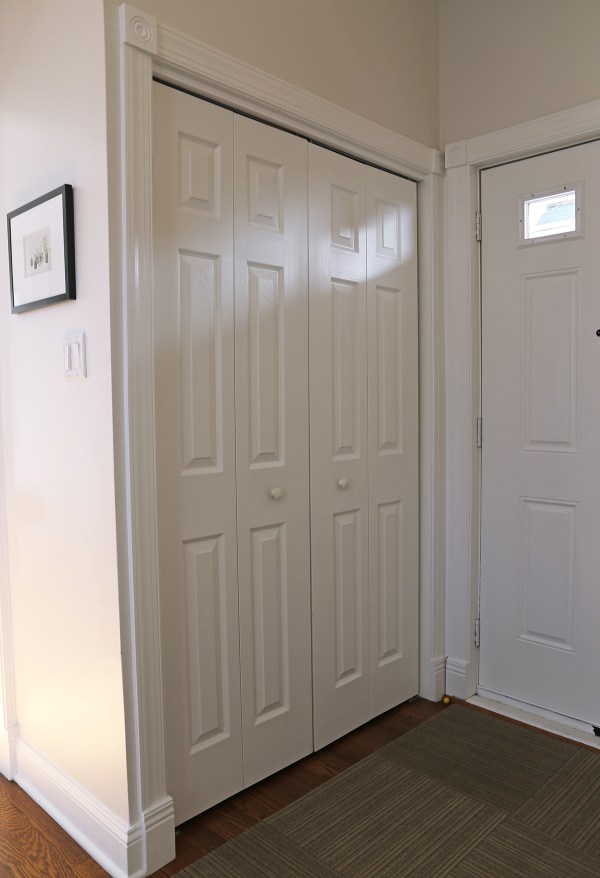
To slightly different white bi-fold doors! 
I used the same knobs I bought for our bathroom vanity upstairs: Amerock’s Blackrock 1-1/3″ Cabinet Knob. I may eventually swap these out for a black metal pull, but I decided to start simple.

As for cost: I could have purchased new, totally plain bifold doors for $45 each. By flipping the doors, I saved $90 and didn’t waste otherwise-perfectly-fine doors. All totaled, the wood trim cost $60, which is at least half the price of any comparable craftsman bifold doors I found elsewhere. And, I like these more than anything I found: the style is exactly what I wanted.

So, we went from this: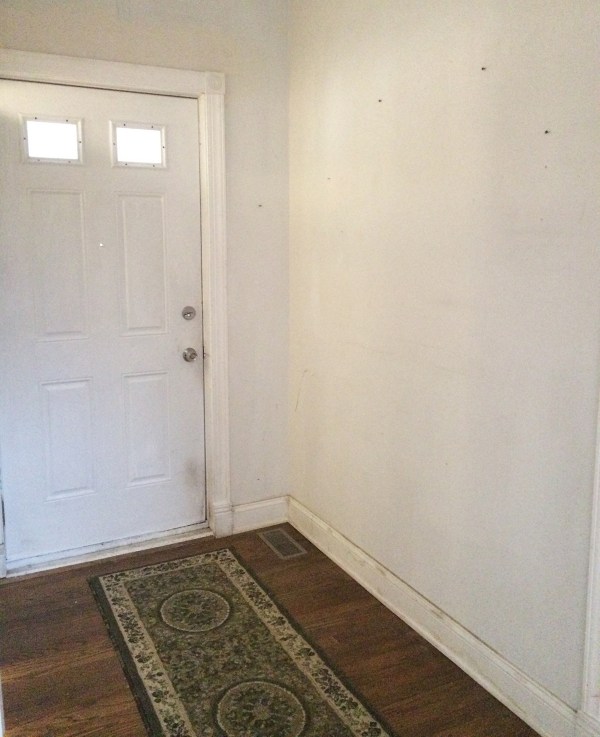
To this:
To this: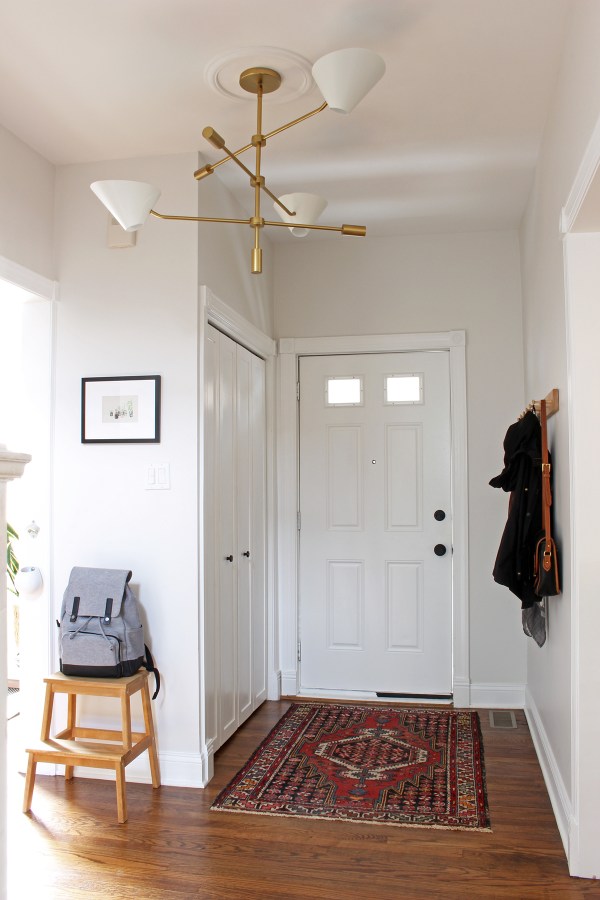
But I’m not finished yet. There are three major changes left on my to-do list for this area, and they need to happen in this order:
1. New front door: I plan to hire someone to install a new door – likely this JELD-WEN Craftsman 6-Lite Primed Steel, which I’ll likely paint black.
2. New moulding: I’m going to replace the moulding around all of the doors with something Craftsman-appropriate. I plan to do this myself, and I am dreeeeaaading it.
3. New coat rack: Finally, I’m going to build a simple hook rail. I might run it across the entire length of the wall, right up to the moulding around the living room entryway. So, it makes sense to hold off on this until the new moulding is in place.
Monkeying with an external door in the middle of winter seems inadvisable, so I’m going to put a pin in the entryway for now and focus on the other projects in my 2017 House Goals list.
One Last Thing: Upcoming Reader Survey
I put together a reader survey to help me better understand who reads this blog, and how you do, and why you do! I’ll return later this week with a link to the survey and a plea for your participation. Thanks in advance, buddies.

this tutorial is gold for soooo many reasons. just thank you, thank you!