I’m back with the second half of my half-bathroom renovation chronicles. You can check out previous posts here: Half-Bathroom Renovation is Underway! and Half-Bathroom Renovation: Days 1 through 3.
Day 4
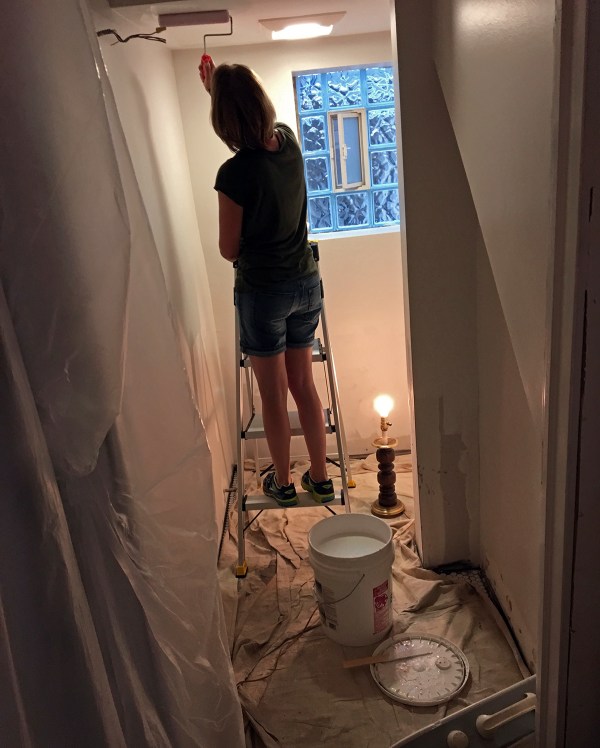
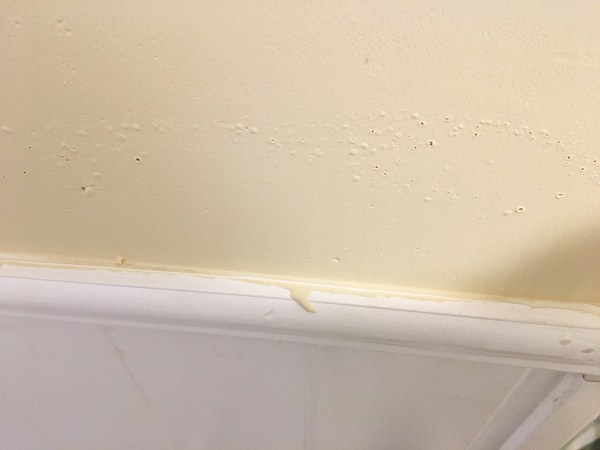
On Day 4, I woke up very early so that I could put another (better) coat of paint on the walls and ceiling before the crew returned. I knew wallpaper would cover most of the flaws, but I didn’t want that to be an excuse for shoddy finishing work.
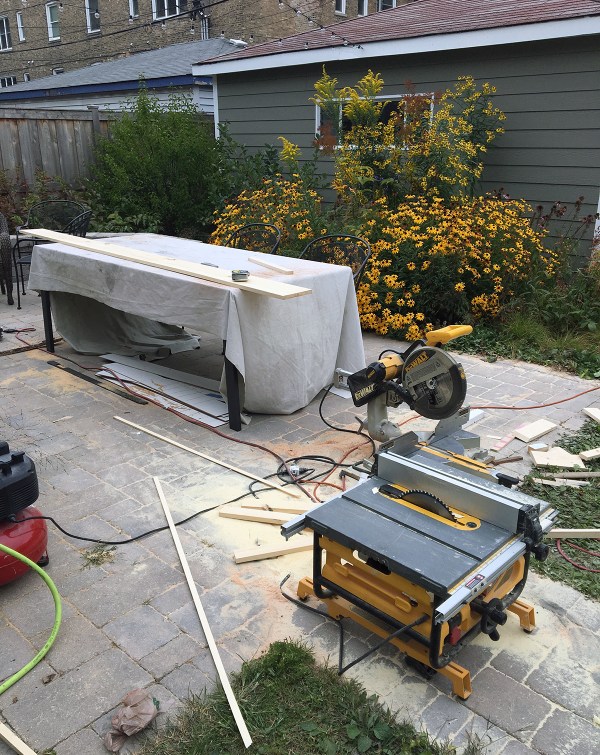
When the guys arrived, they tackled all of the finishing details: beadboard, trim, etc. The weather was beautiful that week, which was great for an outdoor construction zone.
New trim and architrave above the door: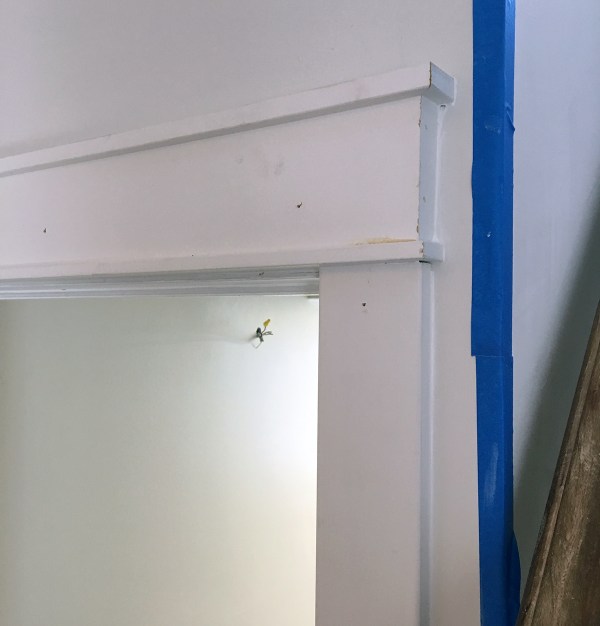
I had this photo printed out to show the guys how I wanted the window trim done, which was helpful for explaining details: mitered corners, slightly extended sill, etc.
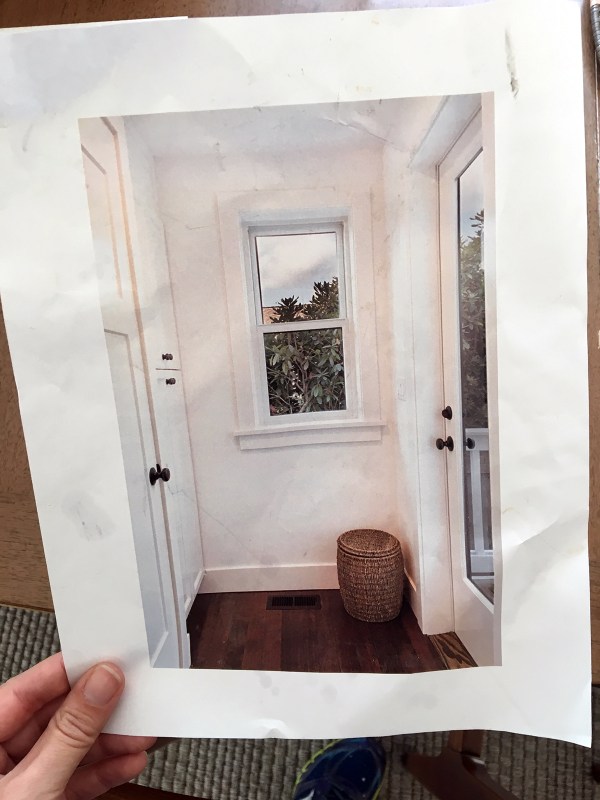
They went rogue on one detail – cutting angled corners for the bottom piece of trim – but I decided to be fine with that.

Day 4 was the last day the crew was scheduled to be at our house. They had another job booked for Friday and, with Patrick gone, were very pressed for time. They started rushing things.

I won’t go into all of the small errors because that’s really boring, but here’s one example: the door was hung without chiseling out one of the door hinge slots. They simply screwed the hinge on top of the door. (I had them hang the door prior to my painting it.)

The biggest problem was that the beadboard was installed crooked. The height varied by over 2 inches and the trim along the top visibly sloped.
So, at the end of the final day we were left with crooked beadboard, uncaulked trim, a door with no knob, and a handful of miscellaneous issues.

The Following Week
I asked Patrick to come out the following week to discuss the job. To his credit, he looked at the beadboard and immediately said “This is unacceptable.” They removed and reset the trim along the top so that it’s more level (it’s still not perfect, but it’s within a margin of error that’s acceptable to me). They also re-mudded some areas to fix a few drywall issues…
Not great, right?!

At this point I figured it was best to cut my losses. We parted ways amicably and I finished the work myself – sanding the walls smooth, caulking the trim, etc. Everything’s fine now. All totaled, I think the guys did a B- job. It wasn’t a terrible contractor experience; it certainly wasn’t great, but they were very reasonably priced, so I feel like I got my money’s worth. Let’s call it a learning experience and move on!
Painting and Door Details
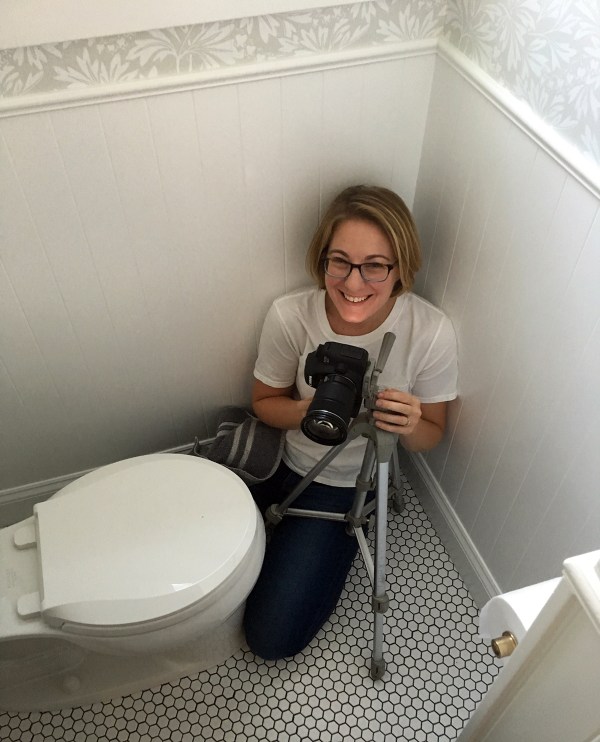
Painting the trim and beadboard in this tiny powder room was a real chore. It was cramped and involved a lot of toilet straddling.


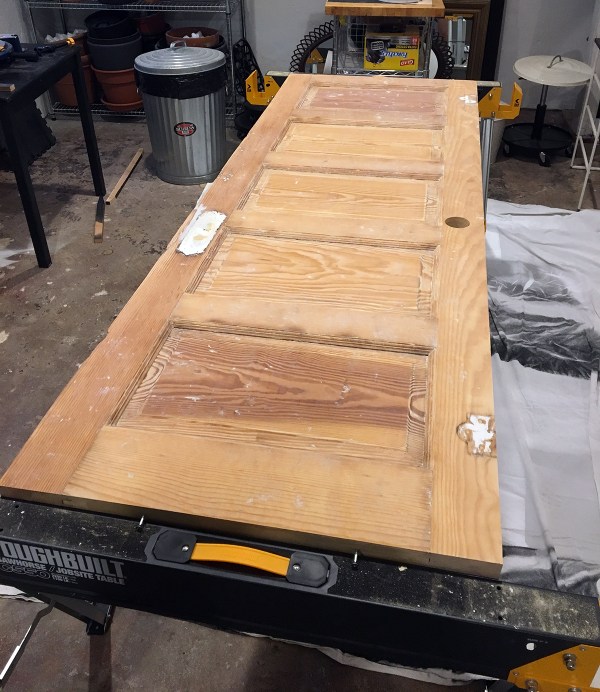
In the weeks prior to the renovation, I had purchased a wonderfully solid, vintage five-panel door for $20. It was covered in a hundred years worth of paint, which obscured the wood details. I stripped it to, yes, paint it again. Don’t you judge me! (You can judge me.)
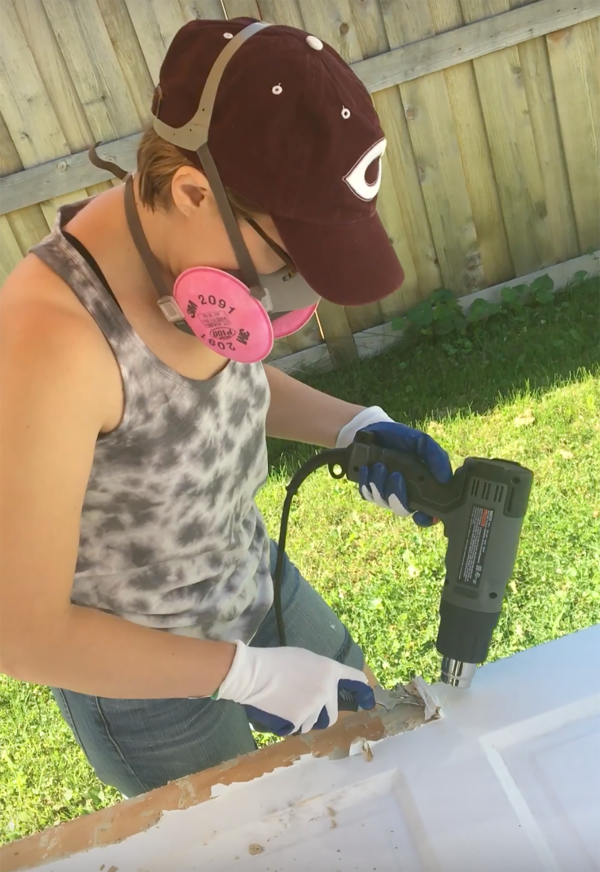
It was slow-going but satisfying work.
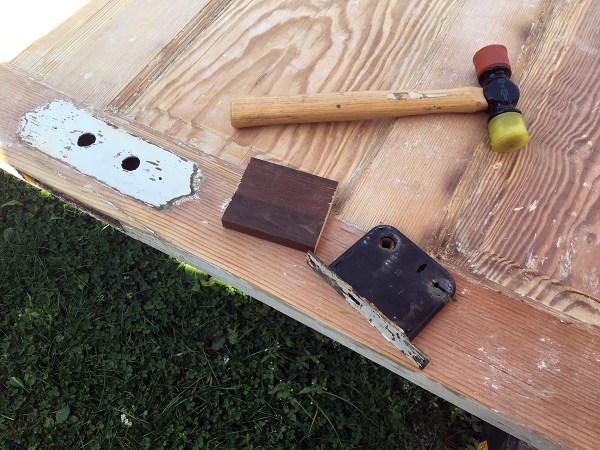
I removed the old mortise lock and cut a piece of wood to fill the pocket. I used some chopsticks to make it extra-tight and then filled everything in with Bondo putty.

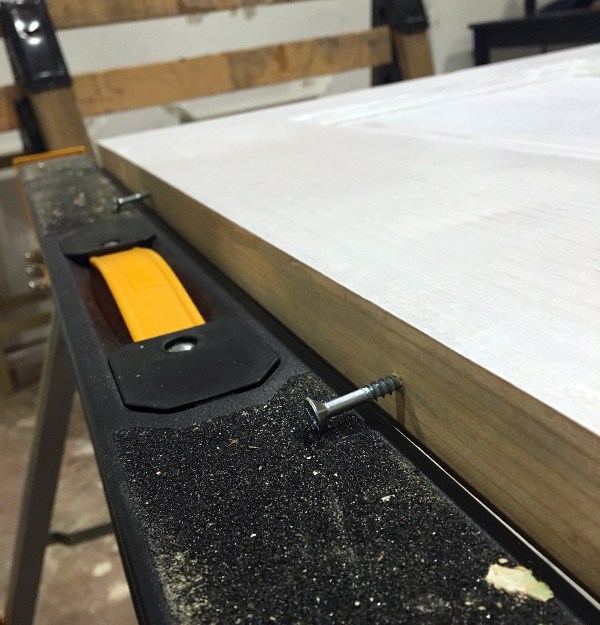
I painted the door following this helpful Family Handyman guide.
Their screw tip was really helpful: it let me paint both sides of the door without waiting for the first side to dry.
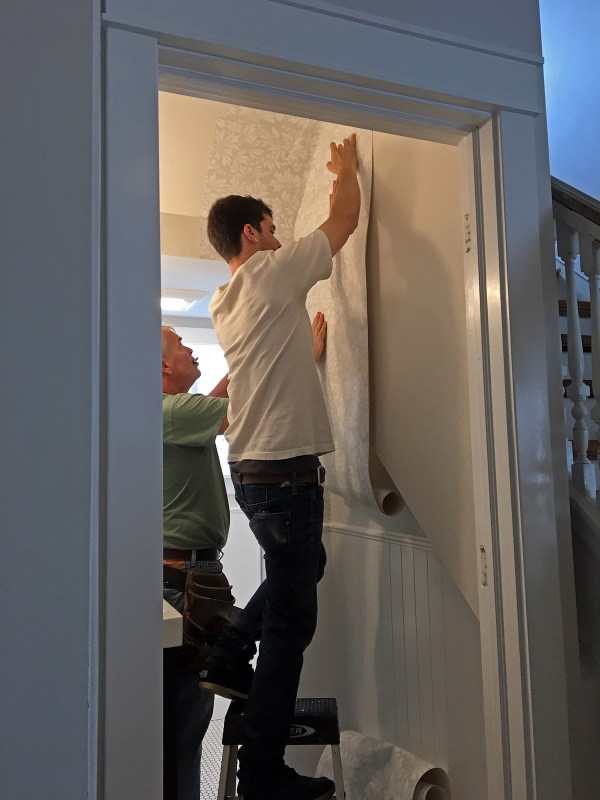
Wallpaper
Finally: wallpaper! I hired Midwest Paperhangers to do the job, and they were great.

The multiple angles of this room required careful planning. This father-and-son team measured precisely and planned where seams would meet, doing calculations that would have broken my brain.
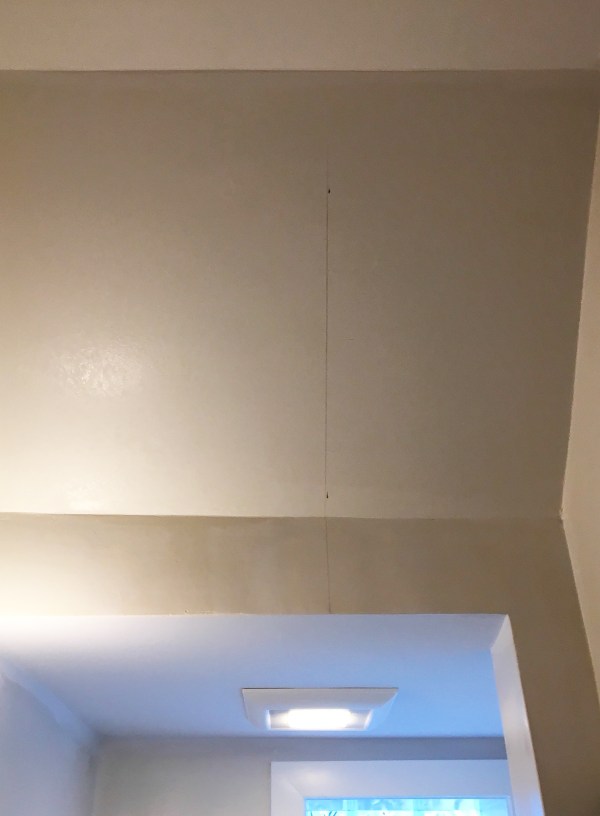
Connel Sr. and Connel Jr. knocked out this awkward, angled room in only two and a half hours. It was amazing.

And that’s where I’ll leave you for now! I’ll be back on Tuesday morning with photos of the finished bathroom.

I was wondering what you were going to do about those horrible paint drips, now I know. I don’t blame you for parting ways with your contractor and opting to finish the finish work yourself. How many chances do you get to screw up something that you do everyday right? So far so good, beautiful bathroom thus far.
Ugh! I am glad that the contractor fixed some of the mistakes. It’s too bad the people who did the work did such a crummy job in the first place.
The room looks beautiful, though. I got a kick out of the picture of you hugging the toilet for a shot. The things we do, right? :D
I’ve learned that I don’t have to do everything myself, especially after having found some really good local contractors. You are more forgiving of yours than I would have been. Your bathroom is turning out nicely, nonetheless.
It’s beautiful!!
Thank you, Kristin!