Our half-bathroom is finished, but before we get to those satisfying before-and-after photos, I’m going to subject you to a few renovation progress posts. They’ll be heavy on pictures and light on narrative – I just want to document all the work that went into this tiny powder room.
I hired a contractor to do this renovation job. I considered doing some of the work myself (such as plumbing and beadboard installation), but ultimately chose not to because the price difference was negligible and I don’t need to be a DIY hero. I thought it would be really nice to simply write a check and have it be done in 3 days instead of 3 weeks (or, more realistically, 3 months). Turns out I wrote a check AND did a lot of work myself. This project was not without some hurdles and disappointments, but it all worked out in the end.
Let’s dive in!
Day 1
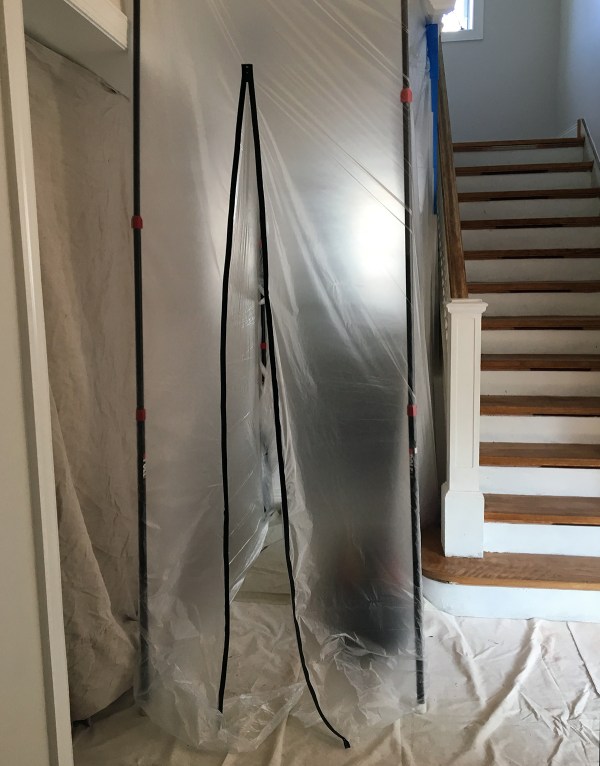
On Monday, the contractor I hired (Patrick) and his two crewmembers arrived. Patrick and I went over the plans and his guys immediately got to work. They put down canvas drop cloths for their walkway and then put up a plastic airlock in front of the bathroom.
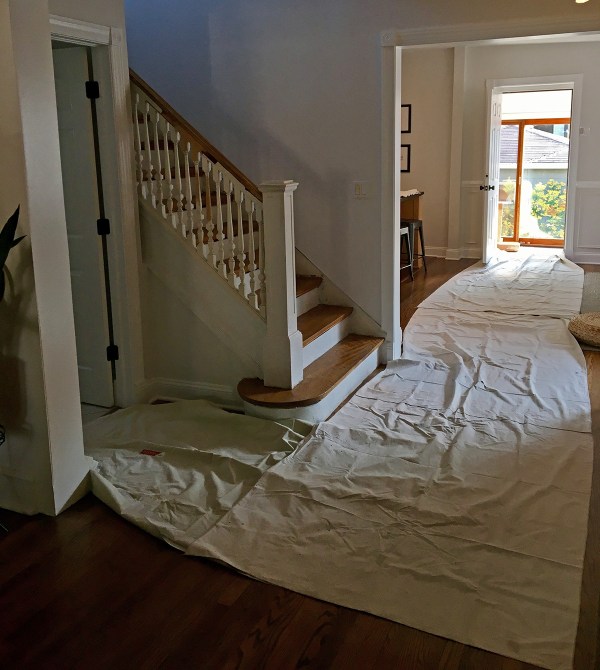
This prep work effectively contained the construction dust and mess, which I really appreciated.
Meanwhile, the cats were confined to the basement, with their pet door locked shut.

Patrick left, leaving his crew to do demo. I expected this because demo doesn’t require skilled labor; I did not know, however, how absent Patrick would be for the majority of the job (I’ll talk about this more later).
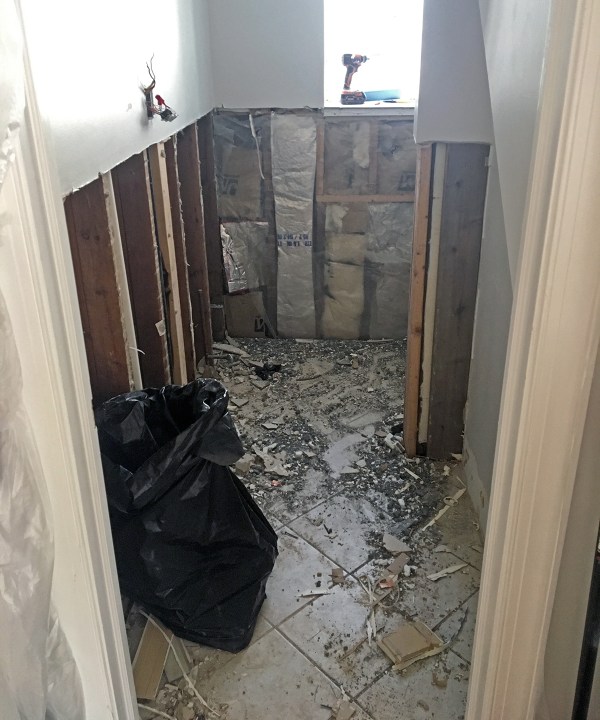
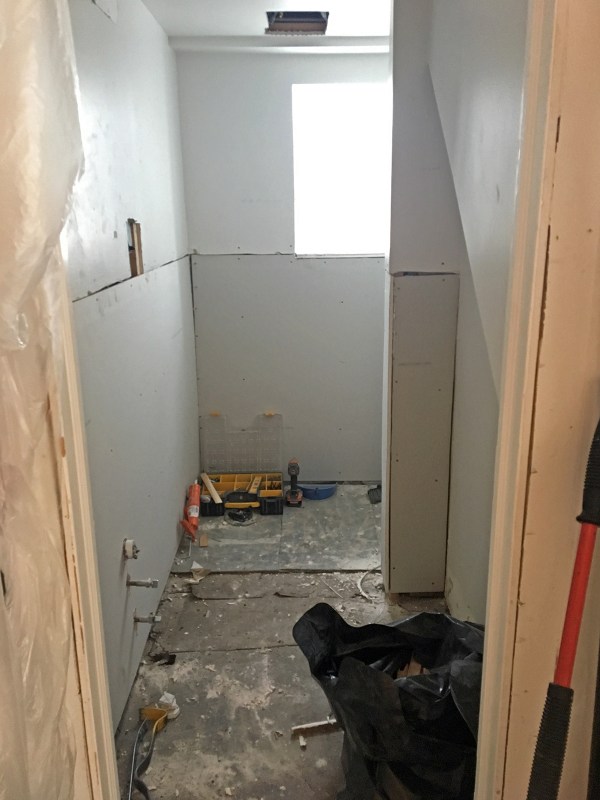
The crew removed an exploratory tile to see what they were getting into, and then fully demoed the wall tile and drywall.
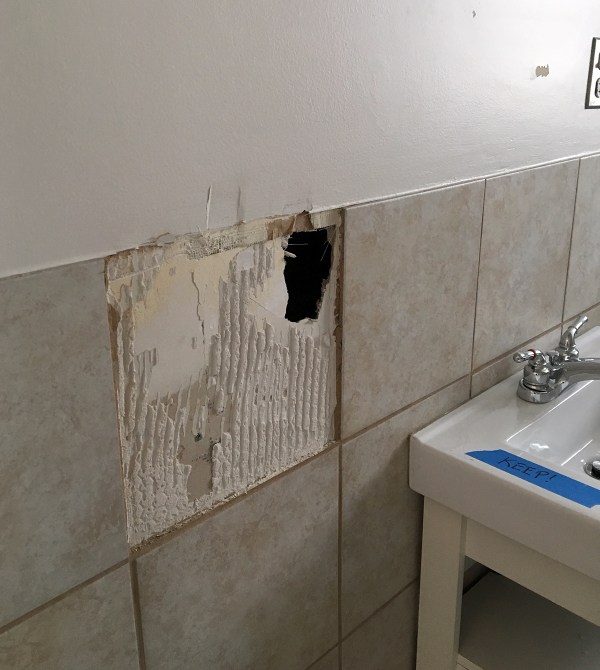
I left a “KEEP!” note on the sink (seen above) so they wouldn’t forget my plan to reuse the sink. I didn’t want them to damage it when they removed it or to accidentally discard it. I wish I had done this on two plinth blocks that they mistakenly removed and tossed – learn from my mistakes, dear reader!
Despite a language barrier (they spoke little English and I don’t speak any Czech), the crew and I bonded over this huge praying mantis one of the guys found in our yard.
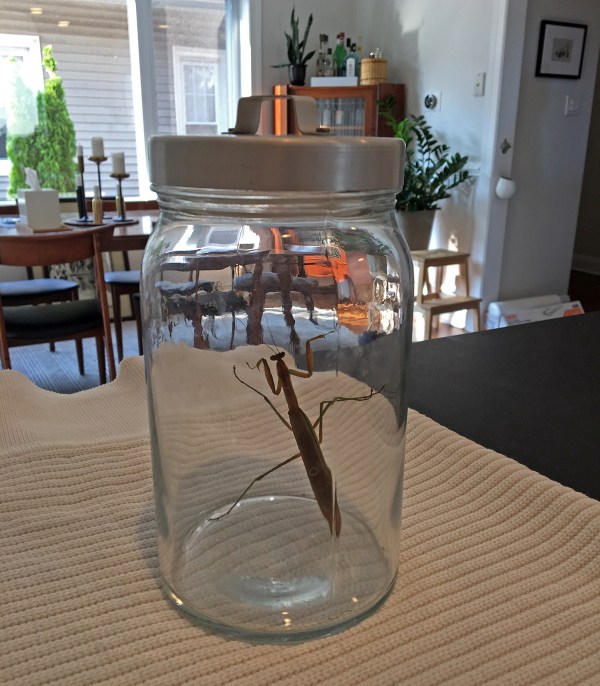
By the end of Day 1, the floor tile was gone, the new drywall was up, and the mantis was back out in the wild.
Day 2
Day 2 was more dirty work. They installed the new ceiling fan.
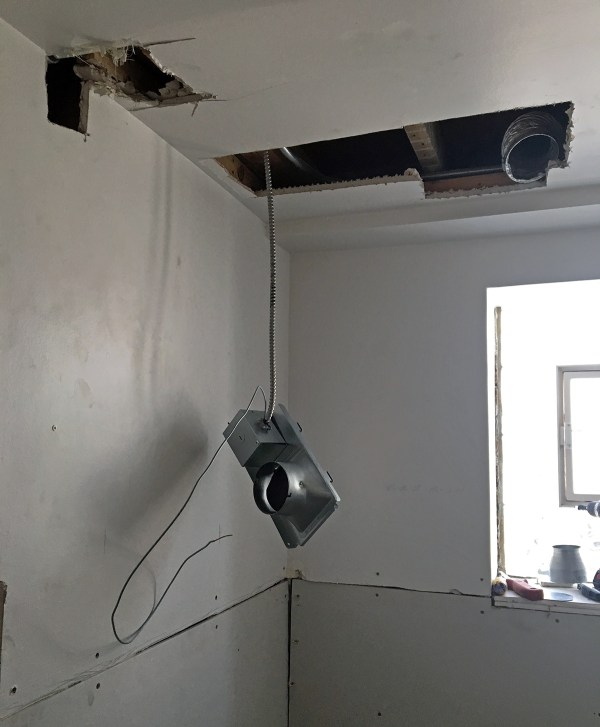
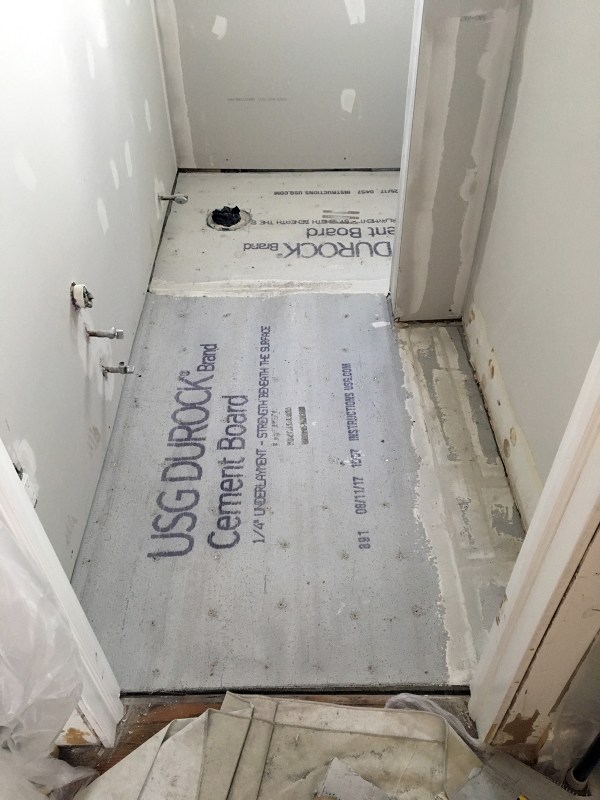
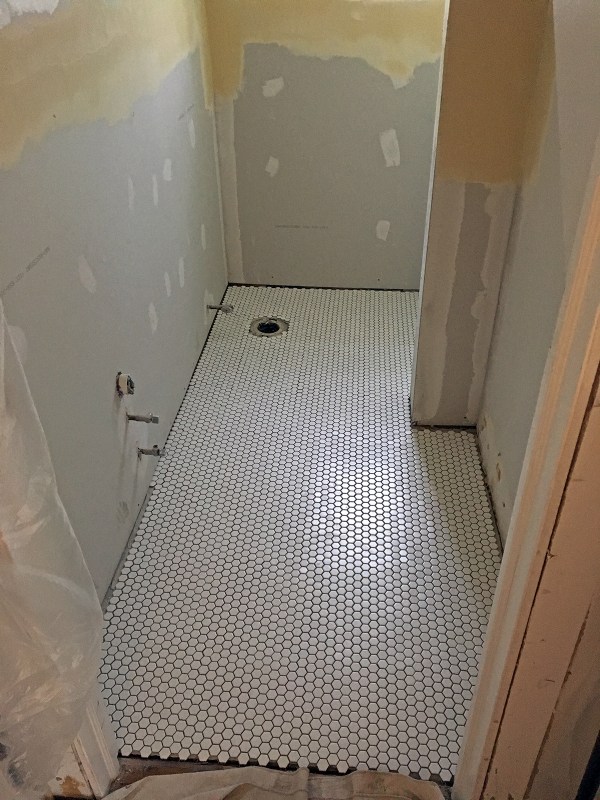
They taped and mudded the drywall, and put down new cement board on the floor.
Newly-relocated switches next to the door:
Newly-flat ceiling – see before photos in my previous post: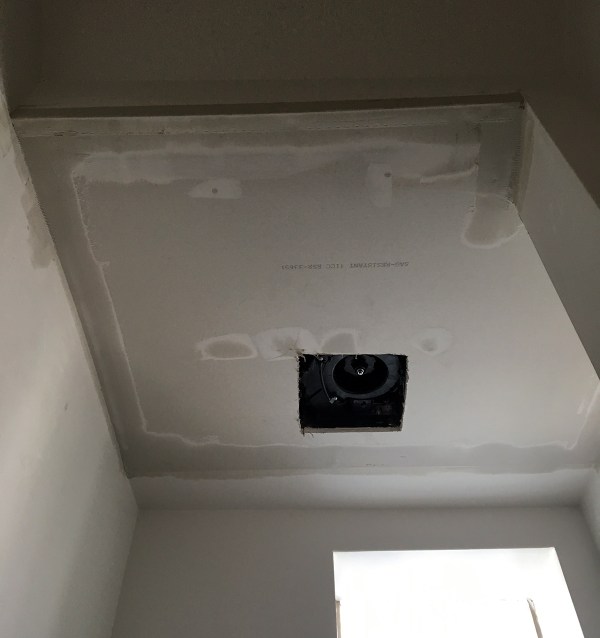
They wrapped up Day 2 with some exciting progress: laying the new hex tile.

I know that installing tile is a doable DIY but, you guys, I just didn’t wanna. I would have fretted and taken forever and I’m very happy I handed this over to someone else.
Day 3
Day 3 began with even more exciting progress: grouting the tile.
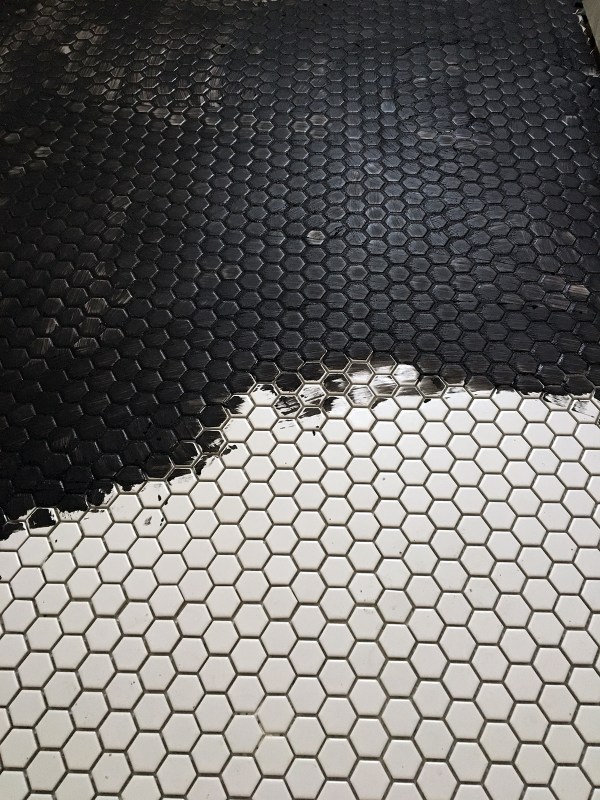
Wipe on: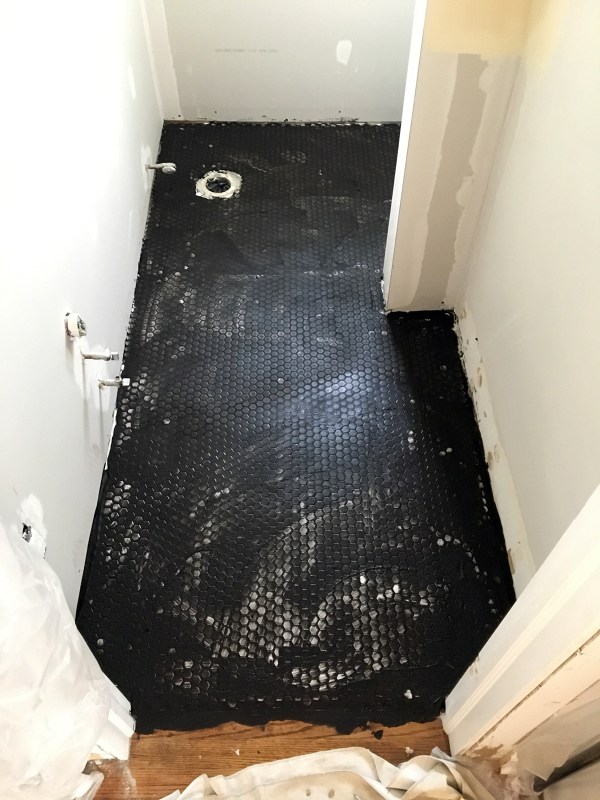
Wipe off: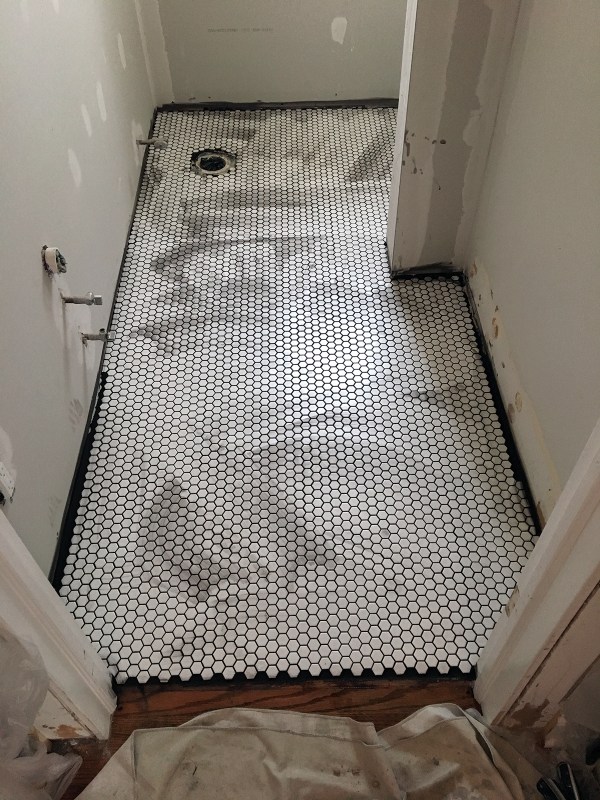
There’s not much else to show for Day 3 because, as the grout was drying, the guys worked on a couple of other projects elsewhere in the house. They finished the day by slopping some paint on the walls using an unnecessarily thick 1-1/4″ nap roller (the kind intended for painting masonry), which led to a lot of paint runs like you see here.
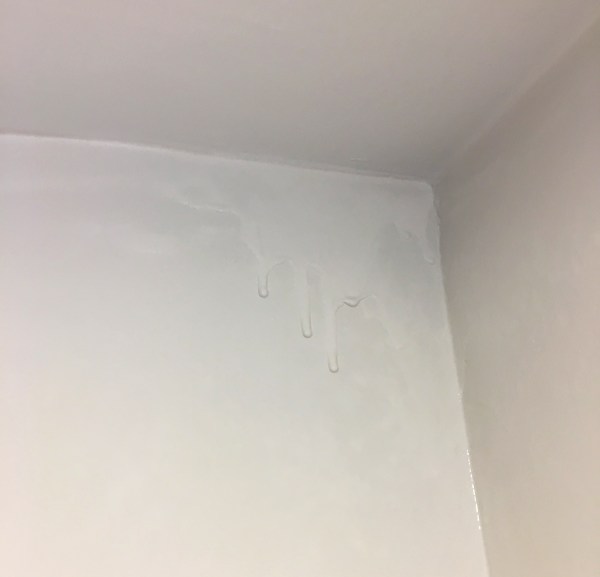
While I had been happy with their work up until this point, this paint job was the first sign of trouble.
Patrick came highly recommended by someone I trust, who has a lot of renovation experience. Unfortunately, I had a different experience than they did. (This happens – I referred someone to a friend who painted their room pink, which was not the color they requested…)
See, Patrick unexpectedly left town mid-job. His crew was nice and hardworking but when left unsupervised, they cut corners and did sloppy work. They were muscle, not the skilled contractor I had hired. Womp womp. It’s water under the bridge, and this post is overly long, so I’ll stop now and return tomorrow with the second half of this renovation story!

I followed your bathroom renovation on Instagram. I can’t wait to buy a house again so I can put my stamp on it as you have here.
Love the hex tile
Me too!
Ugh. I feel for you. It is not always easy to work with contractors, and sometimes, they make terrible choices.
I love the tile.
Looks great! How wide is the powder room? I ask because I am looking for a super narrow sink for my super narrow powder room.
Thank you! The bathroom is a little under 6′ long. It is 4′ wide at its widest point, but closer to 3′ in the area next to the door.
Hi, what colour /brand grout did you use if you know? Love it. thank you
Hi, Wendi It’s Polyblend #60 Charcoal.