Last weekend, we had a sewer backup that spurred us to clean the heck out of our basement. I plan to share a tour of what the space looks like currently, but first I want to backtrack to 2015. When we bought our bungalow, half of the basement was finished and half was unfinished. I covered the unfinished half in my Basement Laundry Room Before and After post; this post is about the work we did to unfinish the finished side.


Our real estate listing said “nice basement with 1 bedroom in basement.” I think we can all agree that statement is 1) redundant and 2) overly generous. That is the soil stack in the middle of the room – our house’s main waste line.
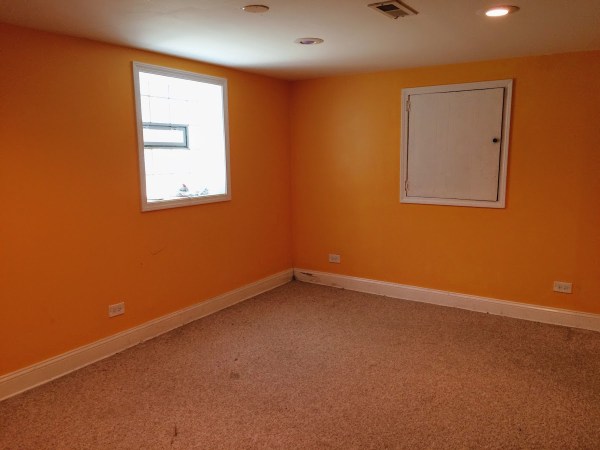
Our inspector’s moisture meter told us the drywall was damp, and our eyeballs told us the space was finished poorly. It was a wet mess. (Let’s all start using “wet mess” instead of “hot mess.”)
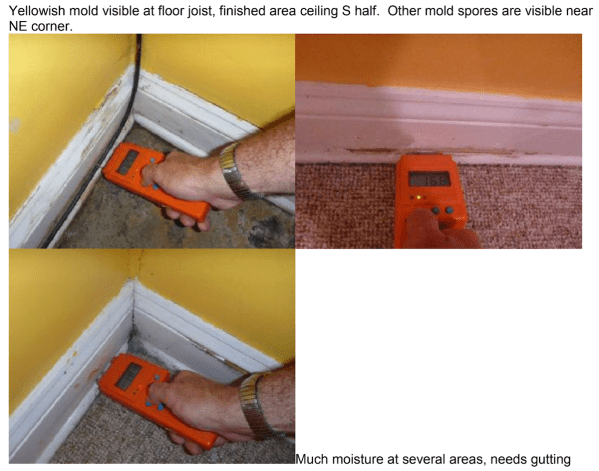
Our inspector recommended we gut the perimeter walls, which we tackled the week we moved in. (The image above is from our inspection report, by the way; I don’t think I could ever write the phrase “Much moisture at several areas.”) We hired out for the first phase of demo in the interest of getting the wet mess hauled away as quickly as possible.
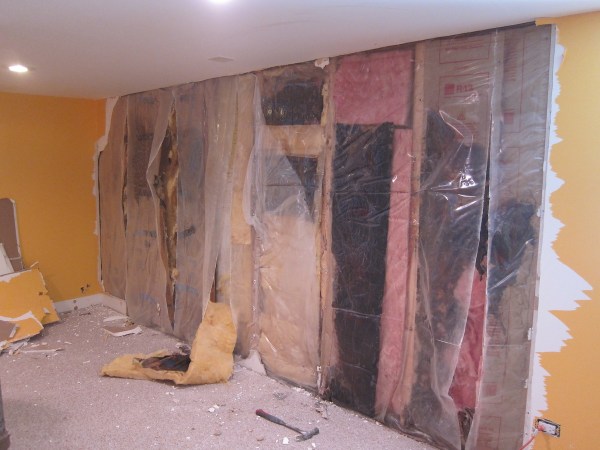
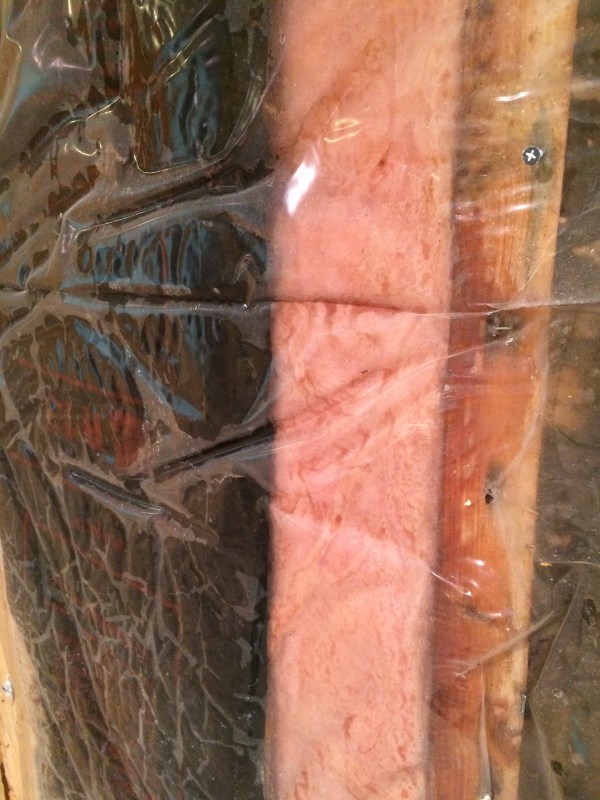
The plastic vapor barrier behind the drywall created a waterlogged insulation situation. “Nice basement”!
The contractor took care of removing the drywall, insulation, and carpet. It cost around $500 – definitely worth it.

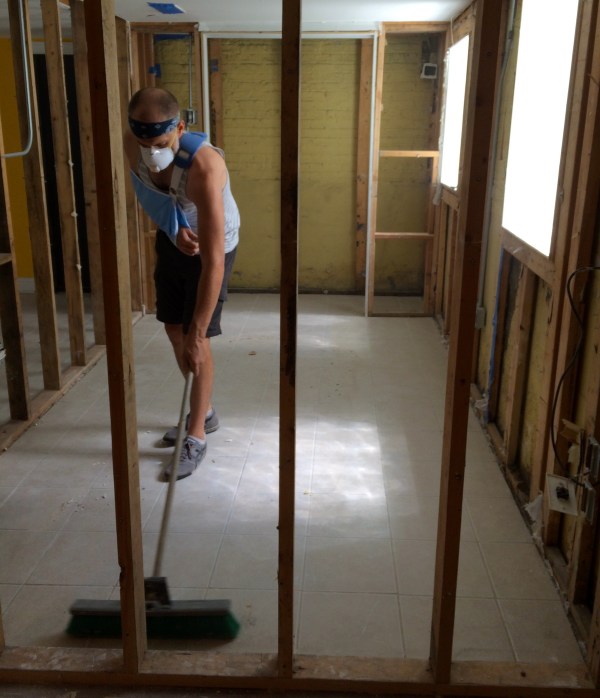
This poor dummy broke his elbow in a self-caused solo bike crash – sweeping left-handed added insult to injury, given how proud he is of his usual floor cleanup game.
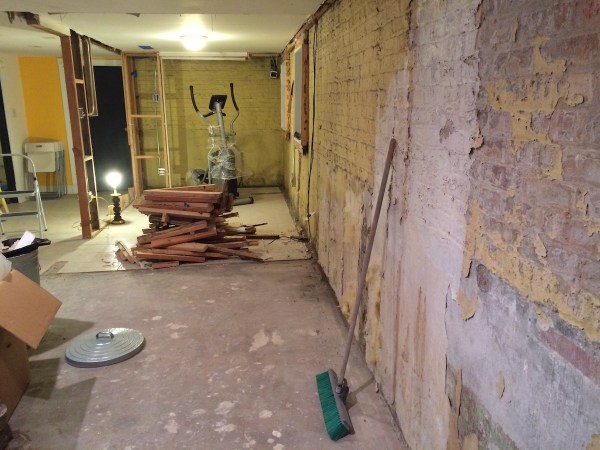
Over the following two months, we worked to make the basement as clean and bright as possible. We removed the studs around the bedroom and the perimeter of the basement.

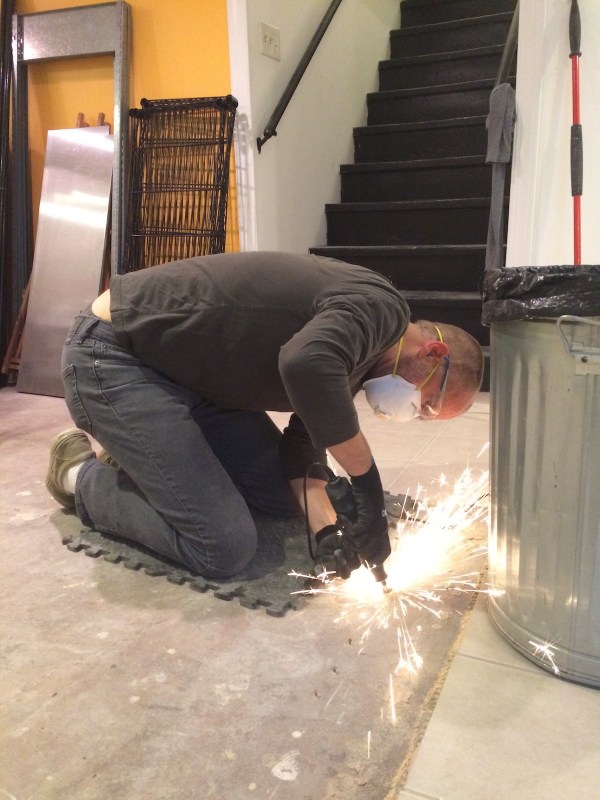
Usually I’m the one operating the power tools, but Jarrod’s baldness came in handy for using a potentially hair-singeing rotary tool to grind the nails out of the concrete floor.
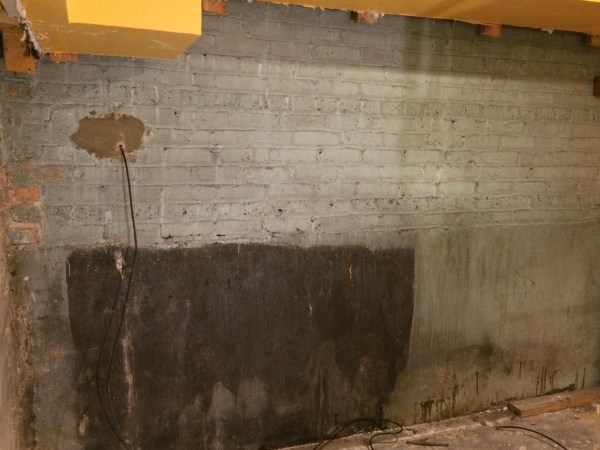
The walls were filthy.
SO filthy.
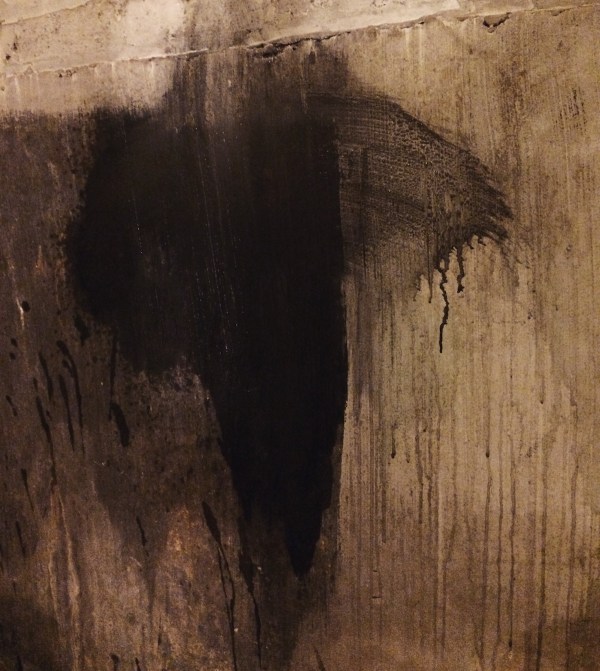
There were several rounds of wall and floor washing with bleach, TSP, and Simple Green. I don’t know what in the hell this Babadook situation was.

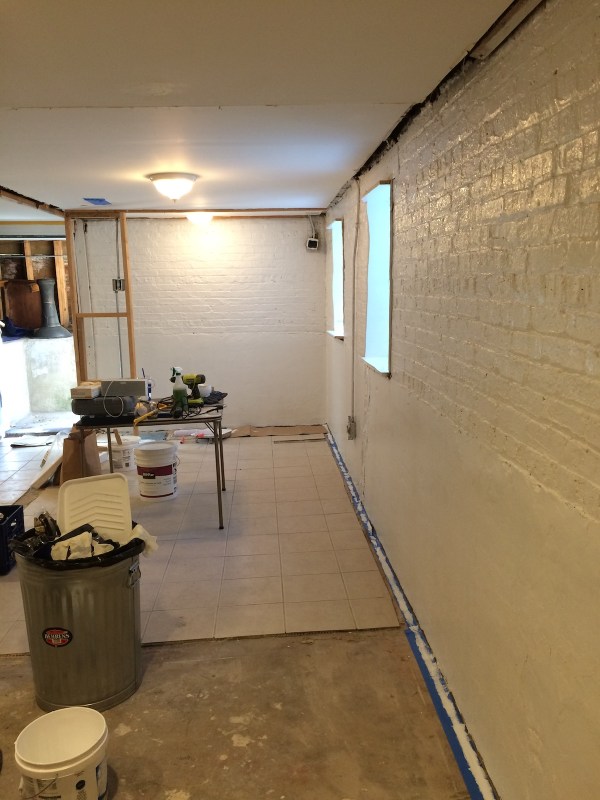
After the walls were scraped and scrubbed, we did two coats of primer and two coats of paint to get us to a nice, clean blank slate.

Thanks for walking down memory lane with me – it was a pretty gross stroll. Next up: the current state of our clean, organized basement.

You should have definitely rented that basement bedroom out on AirBnB!
Ha! Five star reviews, for sure.
I laughed out loud when I read “much moisture at several areas” and thought “is that some kind of inspection lingo? who writes that?” :D
Thank you for sharing this! We have an unfinished basement, but with one randomly walled in corner…and live on a tidal marsh which flooded our basement in two winter storms back in 2018. :( Goodbye dry wall from weird walled in corner! We’ve done the bleach scrub down to clean up after those floods, but otherwise left the basement in it’s unfinished, concrete everywhere state.
Did you use a special primer or paint on the exterior walls? I worry about moisture in the ground/cement, and about adhesion to the cement itself, but painting is our next step towards a better, less cringe-inducing storage and workspace!
Great question – I did not use any special primer. Just Zinsser water-based primer followed by Behr interior paint. It’s held up super well except for one area that has efflorescence because the brick was still drying out. In my latest post, you can see that area.
Painting is definitely goes a long way toward making the space feel better. RIP, weird walled-in corner!
Love your sense of humour! (which probably came in handy with all your projects.)
Where others would cry, you are amazing.