Shortly after we moved into our current apartment I posted about the inevitable “I’ve made a huge mistake” phase that follows every relocation. Apparently that rule applies to virtual moves as well: I migrated from WordPress.com to WordPress.org this past weekend and, so far, feel as though I made a huuuuuge mistake.
(Real quick, for those who don’t know, WordPress.org means that I’ve taken on the work and expense of hosting this blog on my own, instead of WordPress.com taking care of that for me. It should offer greater flexibility in my site’s design as well as an engaging learning experience that will exercise my aging brain (important!). So far, all it is offering are crushing reminders that I am not nearly as CSS-adept as I think I am. Anyway: if this site looks weird in the coming week or if old posts return from the grave, just know that I’m behind the curtain, editing code and cursing the gods.)
Let’s move along, back into the bedroom, and talk about our new headboard.
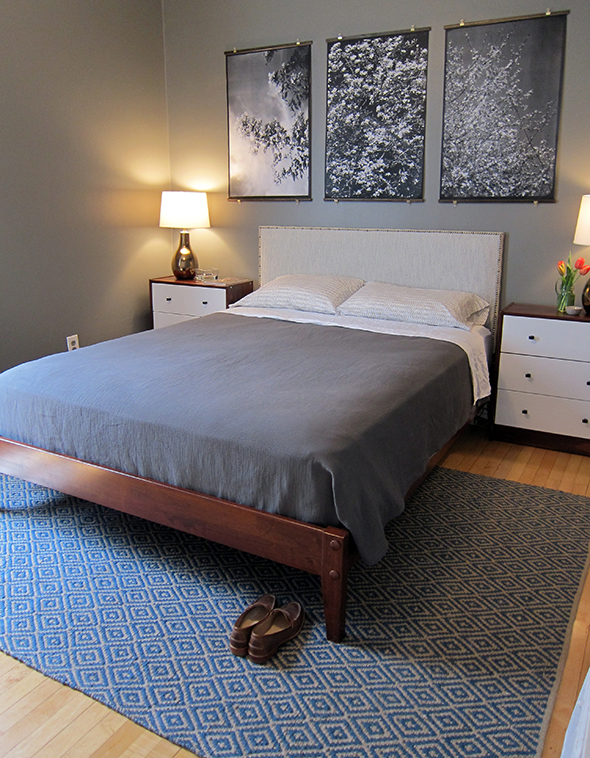
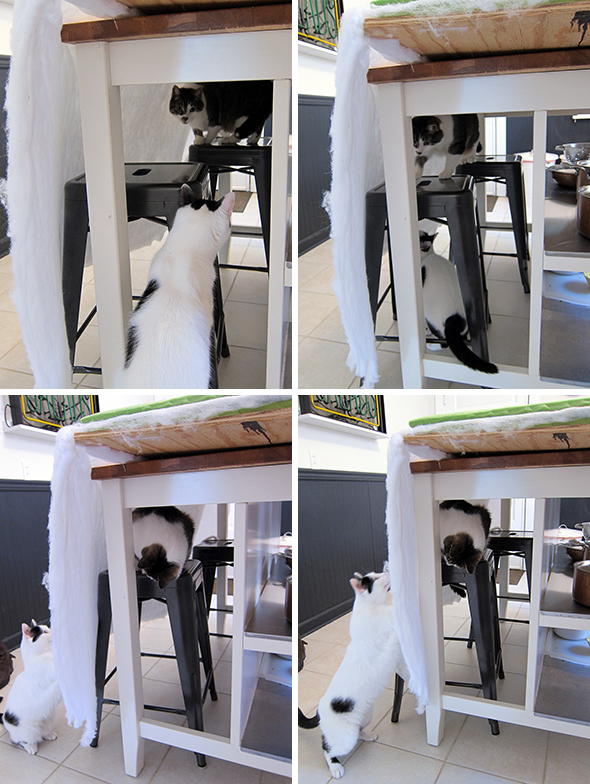
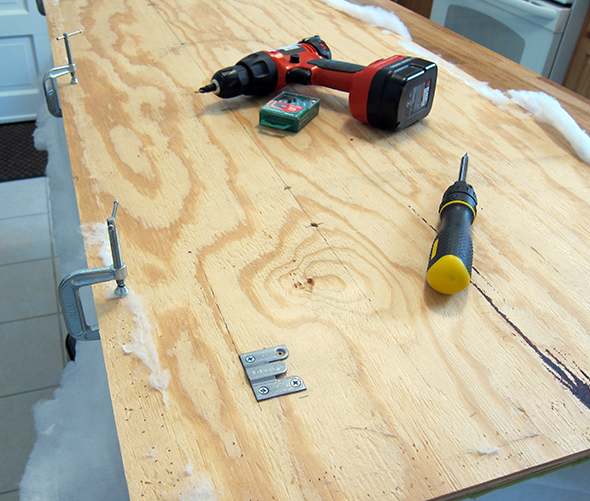
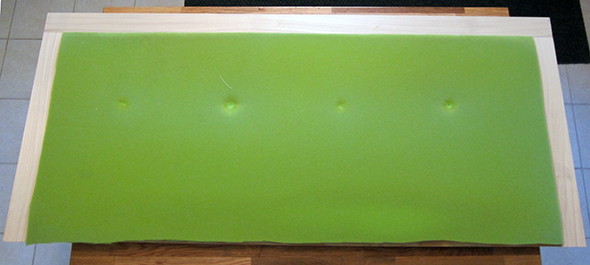
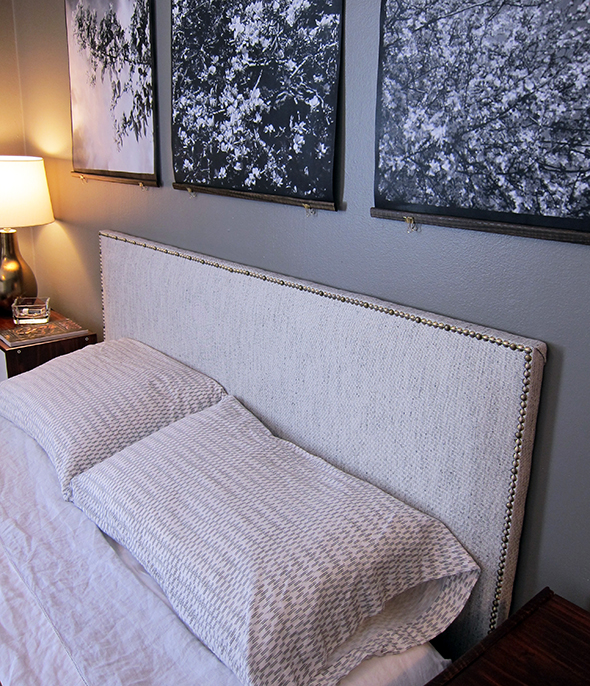
This is the fourth time I’ve reupholstered this headboard and each time I swear it will be the last (so many staples!). But beds are expensive and this headboard does the job. It’s a simple design: plywood cut to size at Home Depot, covered in high density urethane foam, wrapped in batting and then fabric. The cats thought it was a great game.
The headboard was previously tufted; this time I decided to try nail head trim instead. I glued some wood trim to the perimeter of the plywood, to add some depth to the headboard and to give me a sharp/clean edge to nail into.

I bought this Dritz Home Decorative Nailhead Trim kit from Jo-Ann for 12 bucks. This is the antique gold finish.
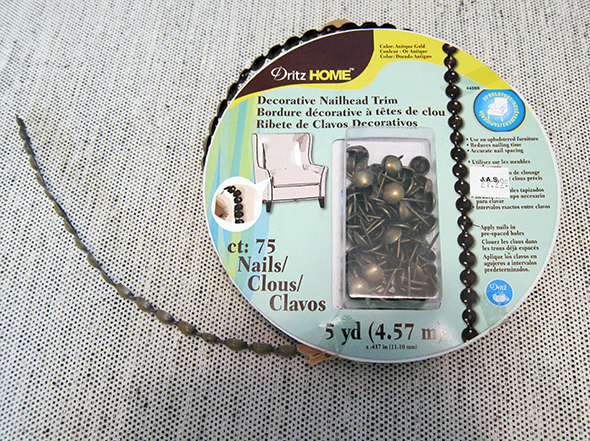
Most of the tack-strip nailheads are decorative. Every fifth head, however, has a hole for a matching nail. This ensures even spacing, neat rows and much quicker work.

My best take-away tip is to roll out your row, lightly tapping every other nail into place – not all the nails and not all the way in. That way you can adjust the row if needed. Once it’s placed and straightened just how you want it, then you can go along and drive all of the nails in. I used a rubber mallet to do so.

It always looks dopey at this stage:

Much better:

The functional nails definitely stand out, but they’re consistent (i.e., every fifth nail just looks a bit different) and it bothers me much less than a row of unaligned nails would. It also bothers me much less than the nails I would have inevitably driven into my skull had I tried to line up 200 individual nails.

Wow! It looks great! I love the colors of the room.
I absolutely love it – and love that they make a product like that. I would go buggy trying to align 200+ nails!
great job! and congrats on the .org switcharoo! i haven’t made the change, but i know several who have and, after many several frustrating lessons, end up loving it and do very creative things. keep on keepin’ on!
Very impressive. I always tell myself that these projects are only for people with large garages and big cars and such (i.e. non city folk). Ugh. Now I have no excuse :(
Re-reading some of these posts today. I was eye-ing that exact rug (from Dash and Albert) for our living room I think.
Do you mind explaining how you hung the headboard? Attached to the wall? The bed base? Thanks in advance.
Good question! I used an interlocking hanging things – similar to this one but more heavy-duty (you can see it in the third photo of this post). I used two sets – one cleat in each corner of the headboard, and the companion cleats screwed into the wall. It required a lot of precise measuring. I think a French cleat would work just as well, and would be easier to mount. Hope this helps!