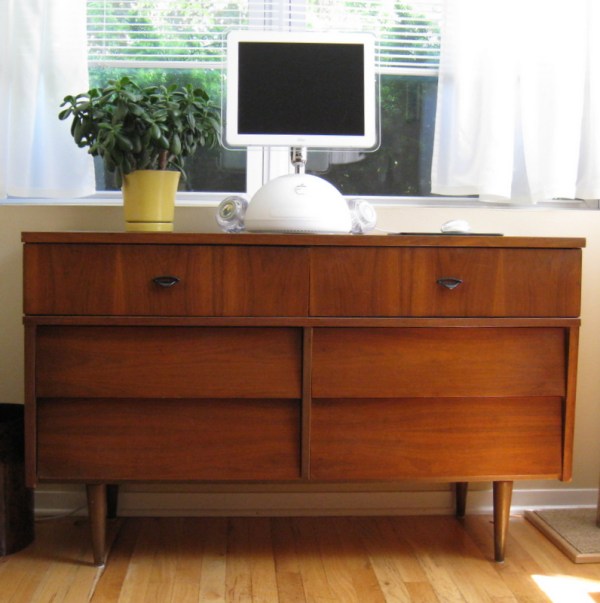
Before:
I picked up this dresser for 25 bucks at a garage sale. Usually when DIY before-and-after posts begin with a piece of furniture like this, they conclude with the dresser coated in paint, decals and rhinestones. I’ll end the suspense right now and reveal that I spared this dresser the razzle-dazzle treatment.
After:
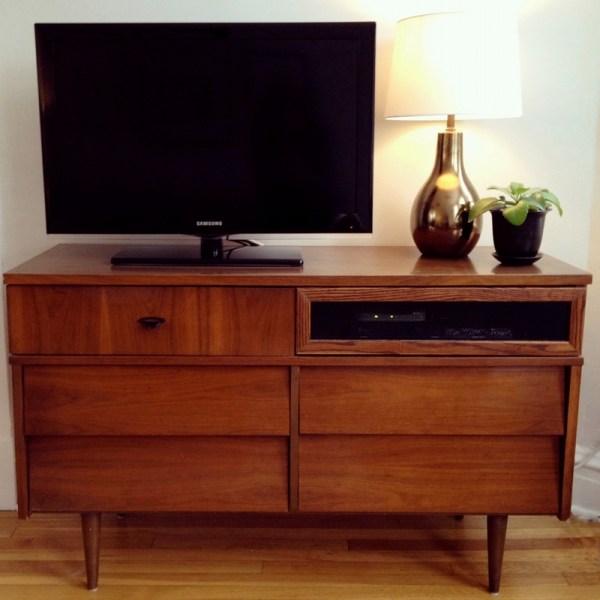
My seldom-used desktop computer sat atop the dresser for a while; in our new apartment I wanted to repurpose it as a television stand without dramatically or permanently altering its appearance. I completed this project a while back, but didn’t put together a full before-and-after post. So, here goes!
The metal screen was the biggest expense – it cost almost as much as the dresser itself. The other supplies were either cheap or already on-hand.
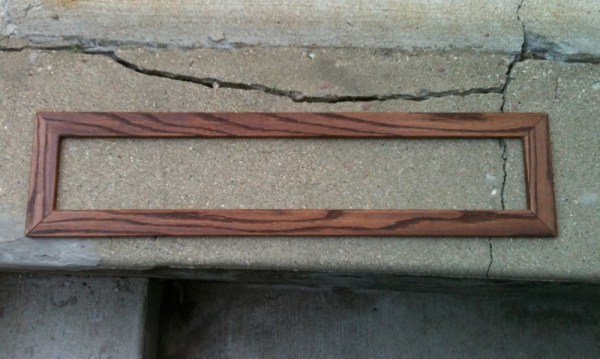
I applied one coat of stain before cutting the pieces and another coat once the frame was assembled. Yep, those are chopsticks being put to work once again (see this previous post for some MacGyver-esque chopstick usage). Here, I used a set to stir the stain and another couple of sets to keep the wood elevated from the concrete as it dried.
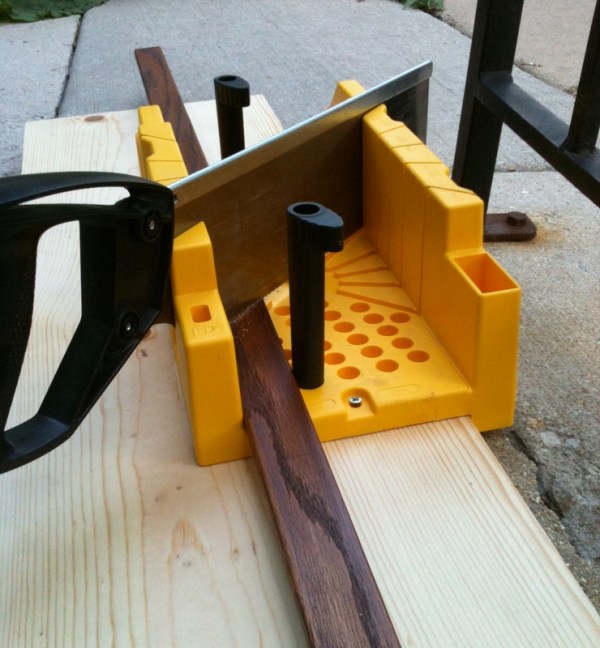
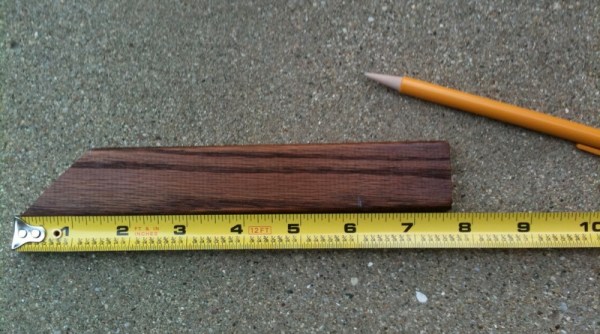
I bought a $14 miter box and saw set a few years ago for basic straight cuts but hadn’t used it for diagonal cuts until this project. I practiced on some scrap wood before carefully approaching my stained oak. I mounted the miter box on a spare piece of wood, which I definitely recommend as it made the plastic box much more stable when sawing. The wood to be cut is held via a peg + hole clamping system with a simplicity that belies its ingeniousness. It’s a quick and easy process if you measure carefully.
All hail Gregory S. Erisoty, inventor of US Design Patent #406,035!
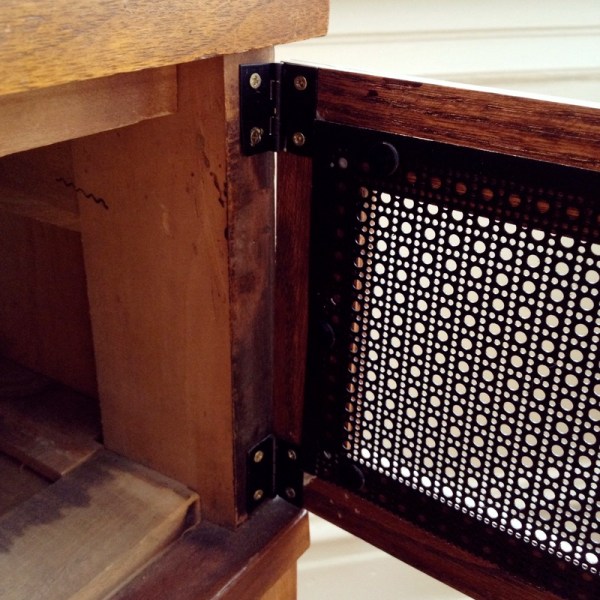
I spray painted the metal screen black and cut it to fit the wood frame.
I apologize for not documenting the process of putting the door together, but rest assured: it was nothing to brag about. I butted and glued together the mitered parts, using small c-clamps and the original drawer to stabilize the frame as it dried. The metal screen is held in place with simple black thumbtacks. The door is attached to the dresser with brass hinges that I spray painted black, and the door stays shut with a small magnet in the upper left corner.
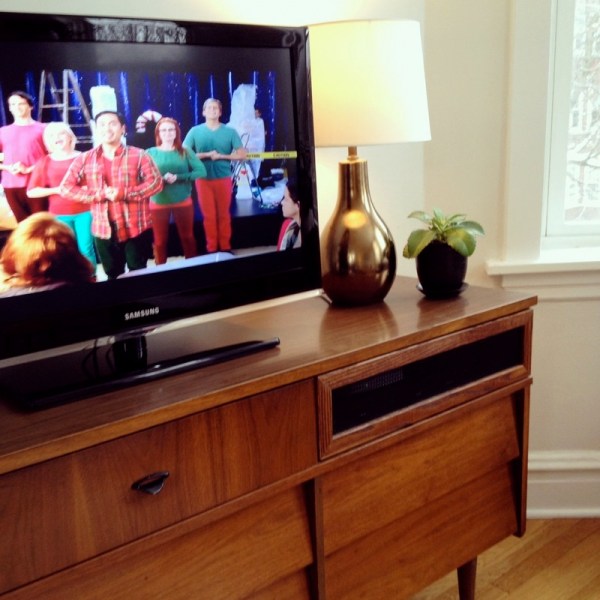
A power strip, modem, router, DVD player and Roku box are concealed behind the door. It’s a hot mess of cables and plastic and blinking lights that I am grateful to have hidden. My laptop lives in the drawer on the left; it’s plugged into the power strip as well. Remote control laser beams pass through the screen with no problem.
The best thing is that no permanent structural and aesthetic changes were made to convert this mid-century modern dresser into TV stand. Down the road I can simply remove the door and use the original drawer.
Victory!





Nice match on the stain.
Thanks! I was pleased with that. The wood grain could be a bit better – I might try again in the future.
Really clever. This made a huge difference. Now it is very fitting of a tv stand.
It makes a great TV stand.
looks great. Where did you buy the mesh screen?
Thanks, Melissa! I picked up the metal screen at The Home Depot.
This is amazing! I’ve wanted a dresser as a tv console in my living room but wondered how to include all the “remote-required” accompaniments. Brilliant!
Marti- Just found your blog and live it! This project and instructions are exactly what I’m looking for. Thank you thank you!
Aw, thanks!
Opps! Of course I LOVE it.