As seen in the previous post, nearly all of the kitchen stuff is located along one wall, making the room sort of anchorless and not very user-friendly. I was won over by the STENSTORP island at IKEA: huge real wood top, stainless steel shelves, space for bar stools.
I thought it would be awesome in our kitchen but $400+ (including tax) was too steep; plus, I prefer to buy furniture second-hand for a variety of reasons. So, I set up a Craigslist alert for “STENSTORP” and one popped up a few weeks later. $175 – maybe not a steal, but definitely a good deal for such a major piece of furniture.
The island’s top had a big gouge that the previous owner had patched with wood filler. I decided to flip the top and sand the bottom to use instead.
 By the way, it’s incredibly awesome to have project space in the basement.
I read online that mineral oil is good, cheap, food-safe protectant for butcher block counters. Jarrod was a good sport and bought it at Walgreen’s for me.
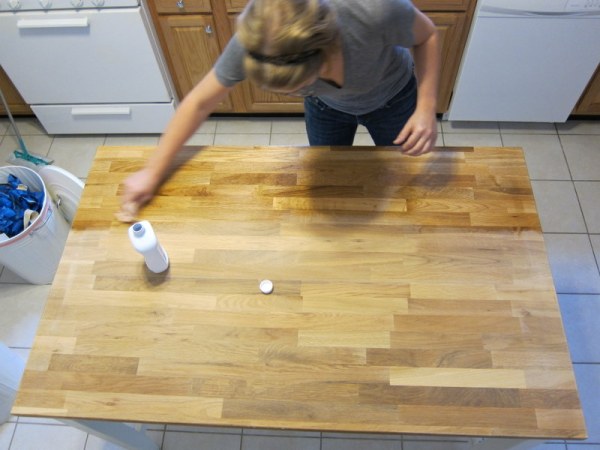
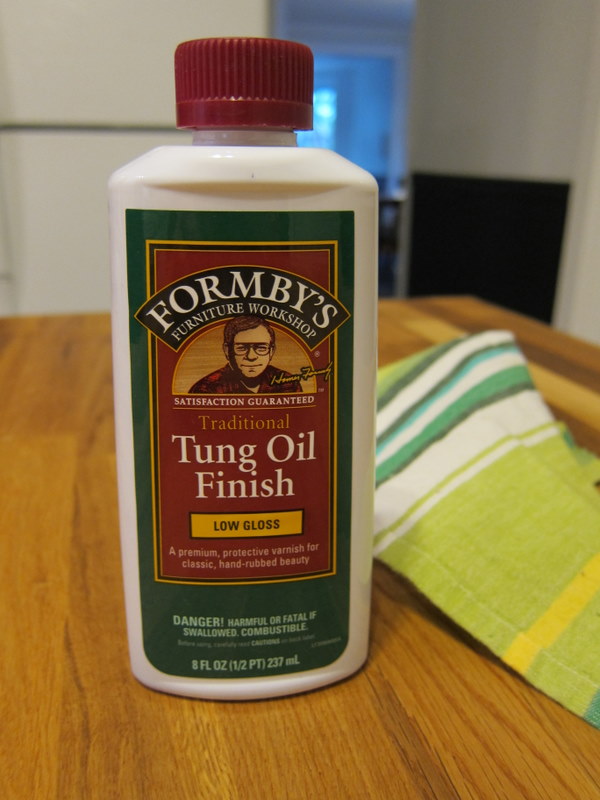
It was fun to apply and the wood drank it right up, so I thought we were good to go. Setting a warm pizza box on it, however, raised the grain of the wood, indicating that the mineral oil did not provide adequate protection against steam/water. I don’t want to have to treat the island delicately, so I upped the ante and applied tung oil finish, which is supposed to provide more water resistence.
If this doesn’t work, I’ll cave and use water-based wipe-on poly. We won’t actually be cutting food directly on the island’s surface so the poly would be fine, but I’d rather use a product that absorbs into the wood rather than sitting on top of it.
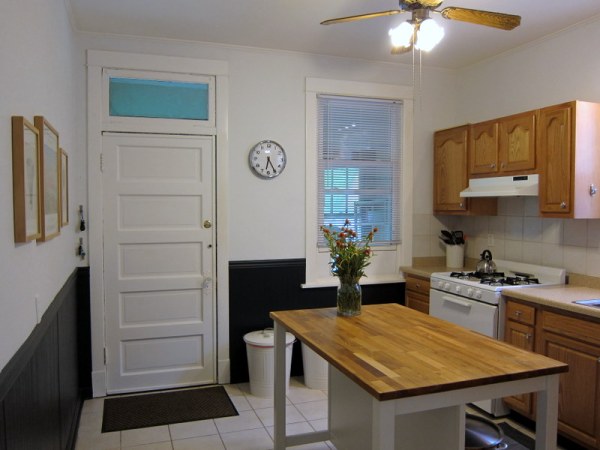
Here’s what our kitchen looks like now. (At this point it might be helpful to point out, in case you haven’t already noticed, that clicking on an image enlarges it.)
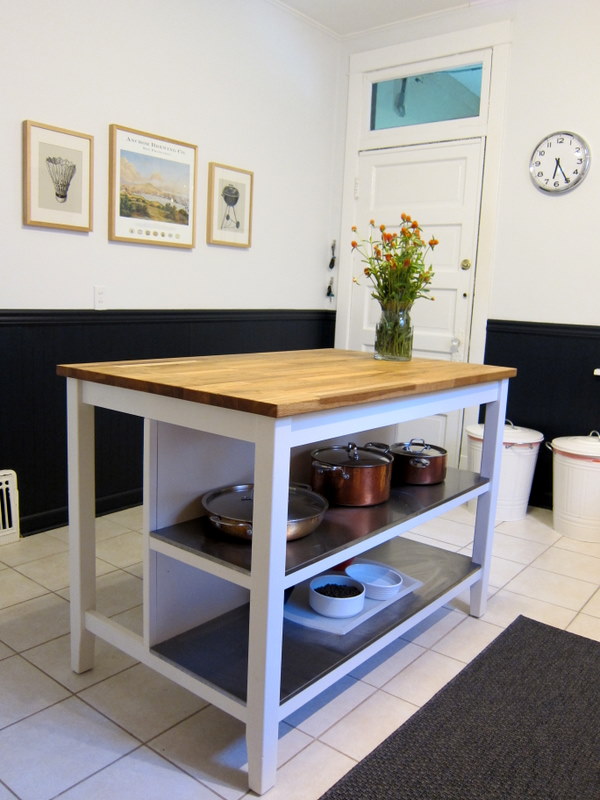 Cat food on the bottom shelf keeps it out of sight and out from underfoot. Win-win.
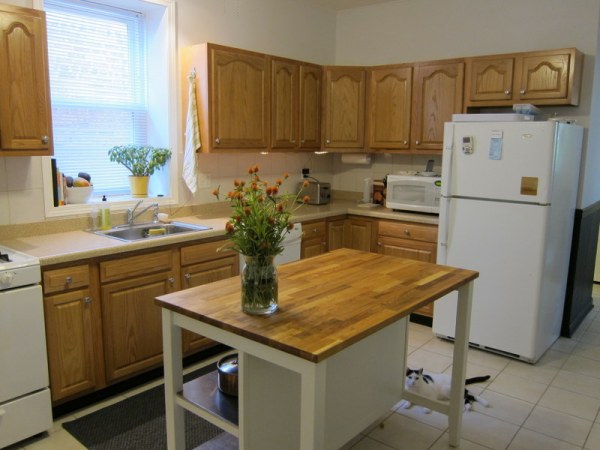 Still need to acquire bar stools.
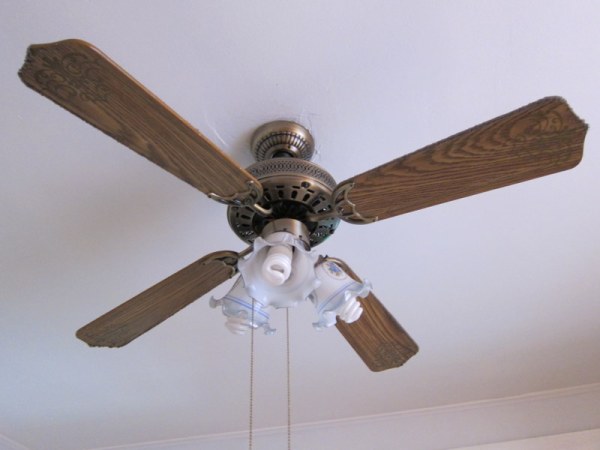
Not finished yet, but definitely some big steps in the right direction. I still need to figure out replacements for the mini-blinds. The trim hasn’t been repainted yet. The space will be warmed up with more art, better dish towels, etc. Most importantly, this ceiling fan needs help.
“Ugly as a mud fence,” as my grandma once said to me about David Letterman. “He sure is funny, but he’s ugly as a mud fence.”



Never heard Grandma say that….too funny!
The kitchen looks GREAT – you might email Jeff about what to use for your counter…he made us all some cutting boards for Christmas with some kind of finish on them that I THINK is safe!! :)
Thanks, Jen! I only heard Grandma use that phrase once, but I thought it was one of the funniest things she ever said.
What in the world is a “mud fence”?!?
Also, love that island. White+wood=win.
Good God! That ceiling fan! So funny, because when I went to look at my house last year before buying it, it had that exact same ceiling fan in 2 bedrooms, kitchen, and living room. My first thought was I love this house, but those ceiling fans have got to go. A year later, I’ve only gotten around to replacing one of them; but happily, its the one right above my bed so the first thing I see in the morning is no longer that hideous ceiling fan.
Great blog, and I totally envy your basement project space!
Good work starting with the fan that would have irked you the most! I plan on spray painting our two hideous ceiling fans – I’ll let you know how it goes.
love the black and white walls! excellent choice. look forward to reading more of your home DIYing
Thanks! I appreciate you checking out my blog.
Wow! What a transformation – a very inspiring blog that has me itching to stop making excuses and transform my own rented flat.