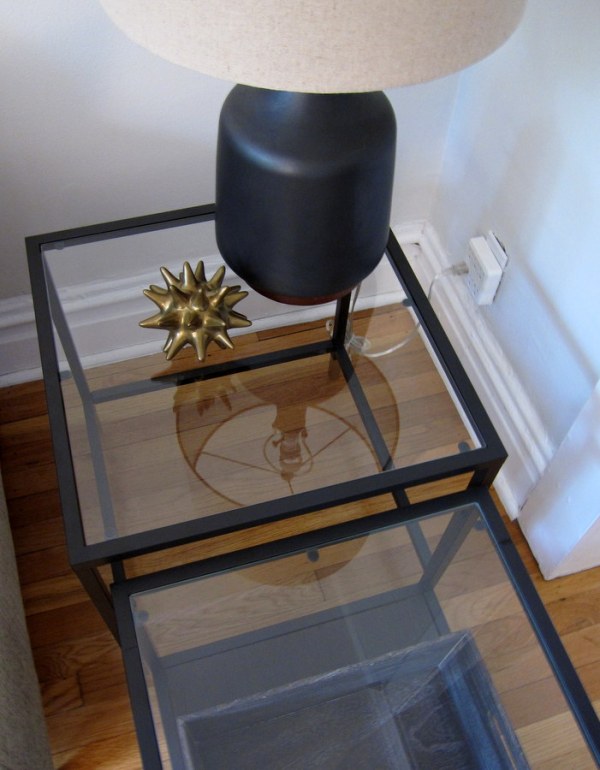
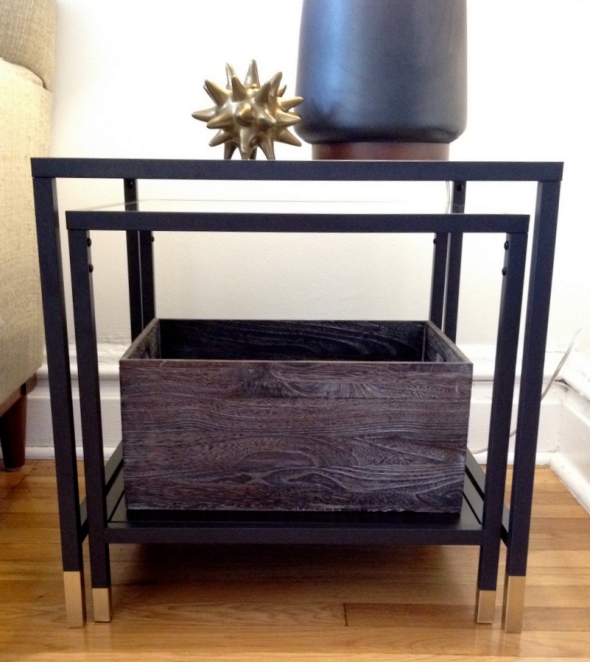
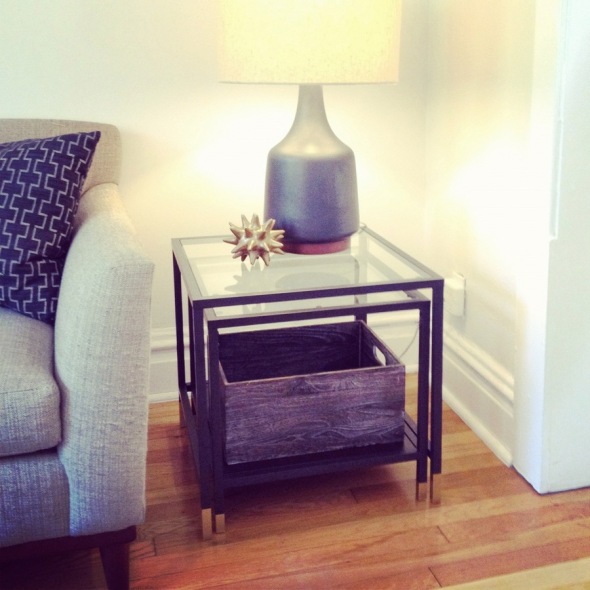
And now for my next trick, I transform IKEA’s VITTSJÖ nesting tables…
into nesting tables!
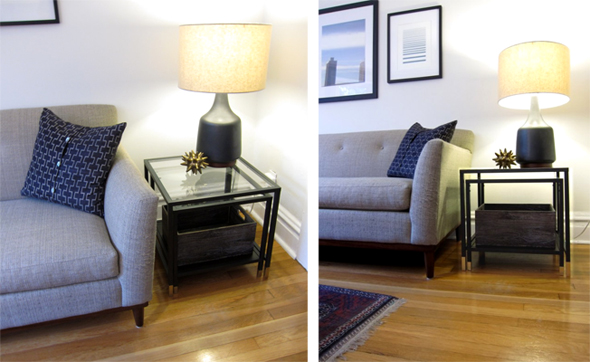
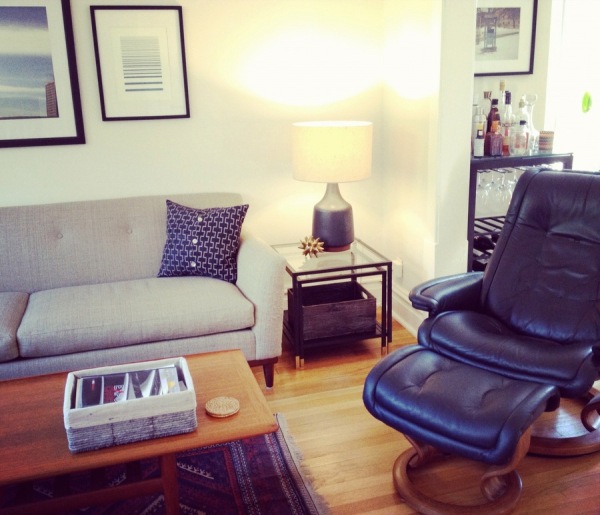
But let me back up: as with all things, I had very specific requirements in mind. I wanted a larger table for our lamp (West Elm’s Morten Table Lamp, which I scored for much cheaper via a floor model sale) and a smaller table for Jarrod to pull out to use next to his chair when we’re camped out in the living room for the evening. It had to be at least 18x18x18. It had to be metal and glass because we already have too much wood happening in there.
I searched for used nesting tables on Craigslist for months before giving up. I then searched for new nesting tables at every store/website I could think of before giving up. It seems that stores offer only a few nesting table options, and they are very expensive.
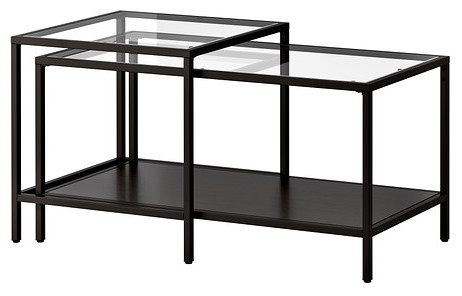
Enter the VITTSJO nesting tables, which seemed perfect in concept, except what’s up with the child table being twice as long as its parent table? Not sure what IKEA is going for there. I would prefer that the smaller table nest fully within the larger table. I bought the set planning to hack it but partially assembled it first just to confirm that the table as-is didn’t make any sense.
 Nope, that doesn’t make any sense.
I totally winged it with this hack – there were several opportunities for disaster and I would have preferred to buy them used because it would made it less of a bummer if I ruined them. The VITTSJO series is new to IKEA, however, so it’s not turning up on Craigslist yet. Much love to Jarrod for encouraging me to barrel through.
Just like your favorite New Kids on the Block song, there were five major steps: cutting the metal frame, piecing back together the frame, cutting the MDF shelf, cutting the glass and painting the legs. I’ll use NKOTB and some modified IKEA assembly illustrations to walk you through it step by step.
Step one, we can have lots of fun… learning how to cut metal.
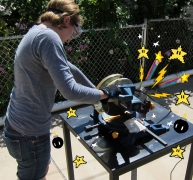
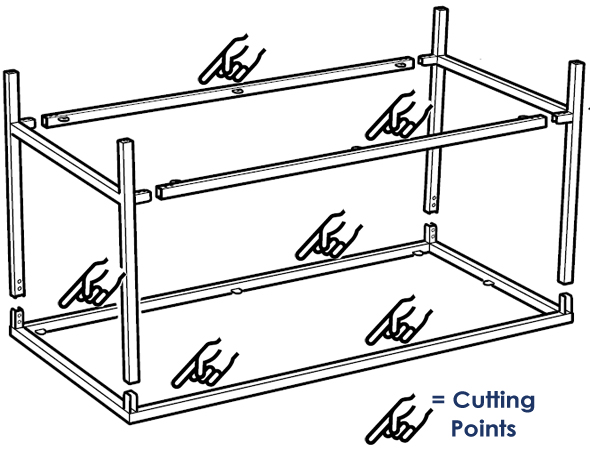
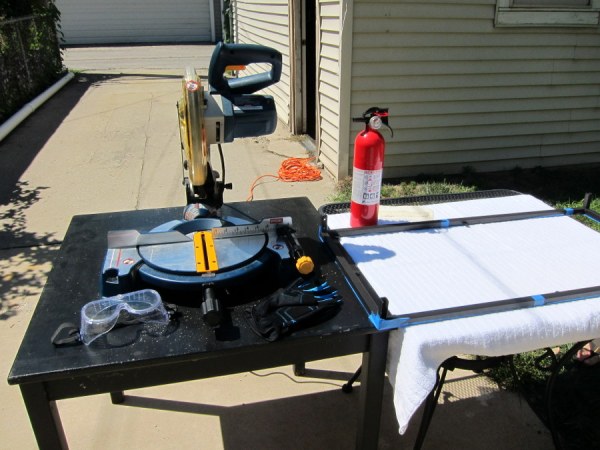
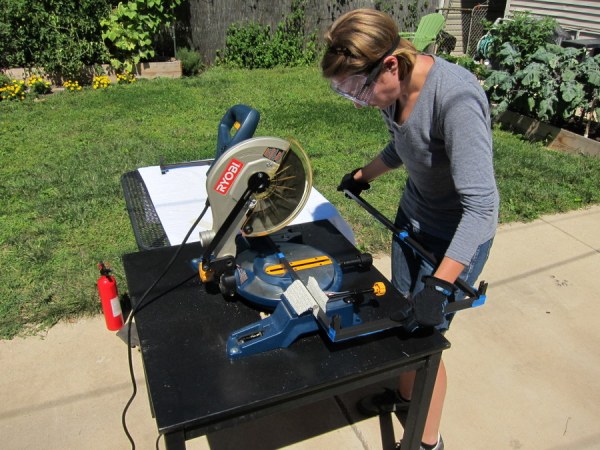
I needed to make six cuts, as indicated above. I tried three approaches: a grinding wheel on my miter saw, a hacksaw and a jigsaw. I’ll elaborate more in a separate follow-up post (oooh, I bet you can’t wait for that); for now I’ll say that I went with my Ryobi miter saw, which was fast, accurate, loud and sparky. Hence the precautionary fire extinguisher. (Update: see Metal Cutting Options)
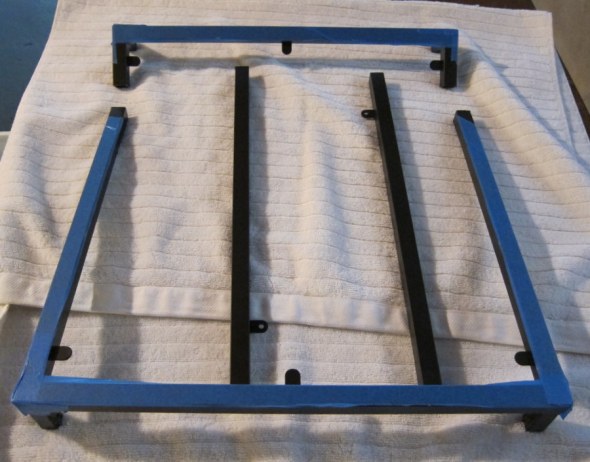
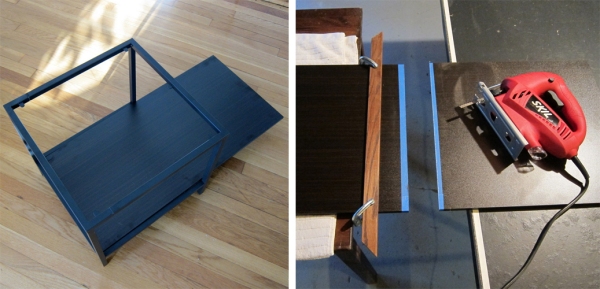
Sawing left me with the pieces seen below. Modifying the bottom rails was easy; I just needed to drill new screw holes at the end of each piece to replace the holes I sawed off. The top was more challenging because I needed to reconnect the pieces in a way that would be as stable and seamless as possible.
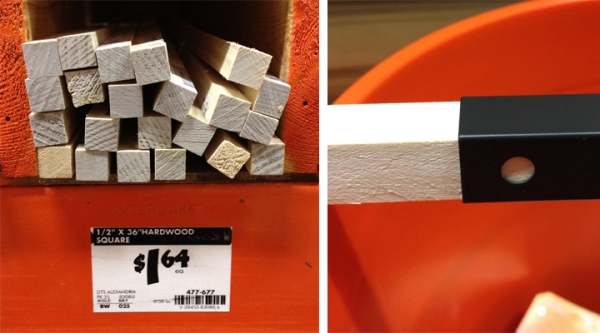
Step two, there’s so much we can do… to piece this back together. I walked around The Home Depot inserting all manner of things into the hollow metal tube to determine what would allow for a nice, tight fit.
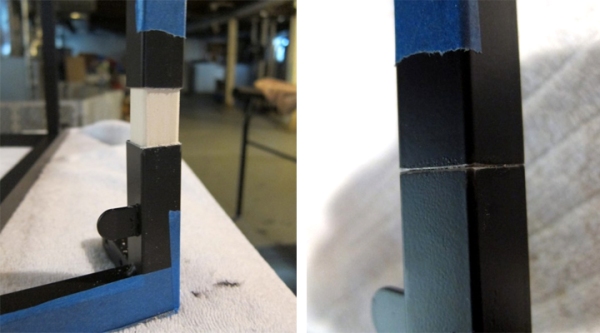
The winner: a piece of 1/2 inch hardwood. It fit perfectly tight – so much so that I didn’t need glue.
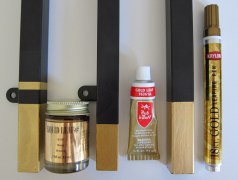
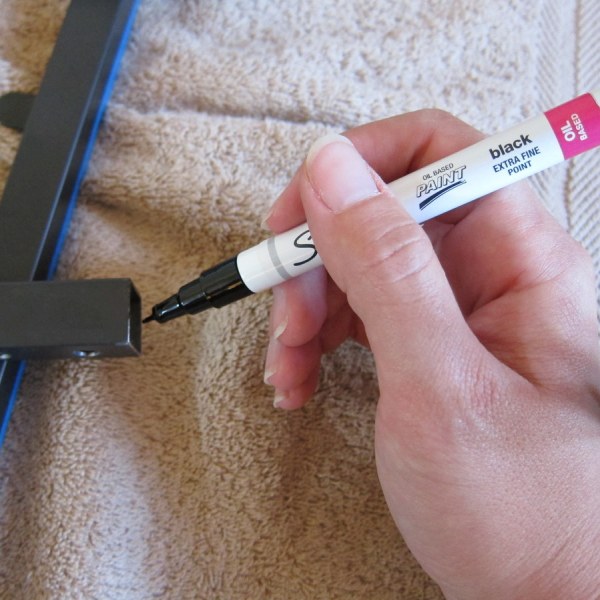
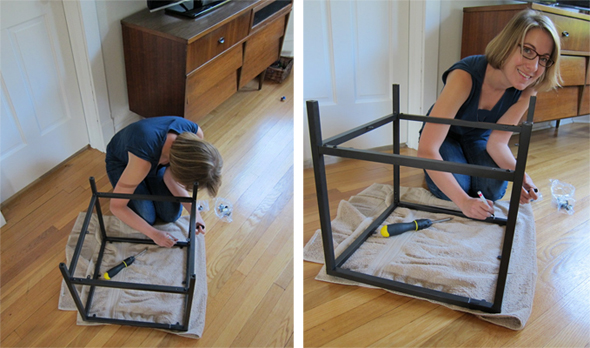
I touched up the cut edges with a Sharpie paint pen while Jarrod crept up on me with the camera. I think I look half-crazed in the right-hand photo: I was really excited that this hackneyed scheme of mine was actually working out.
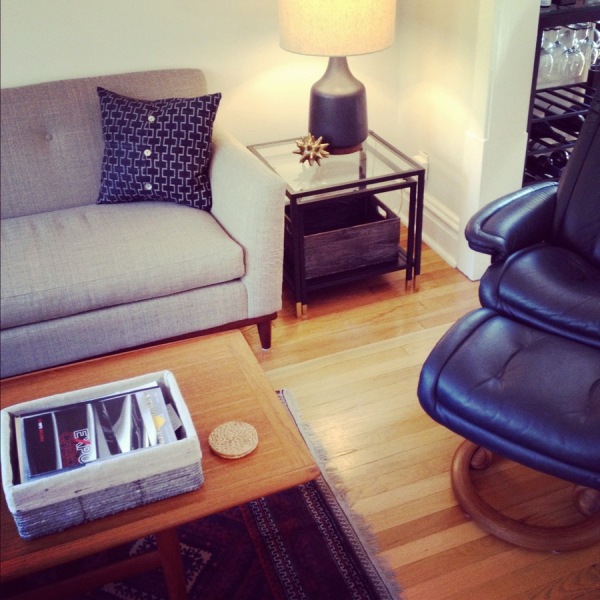
The cutting scars are discrete like a high-class face lift – not invisible, but you wouldn’t notice them if you weren’t looking for them.
Step three, it’s just you and me… and a too-long particleboard shelf. Nothing a jigsaw can’t fix.
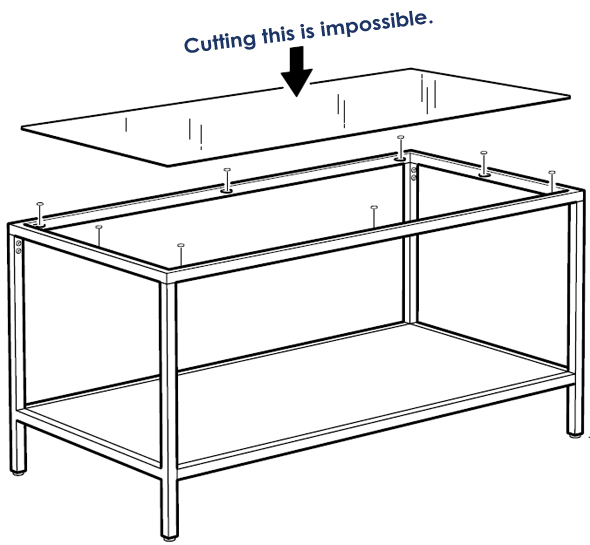
Step four, I can give you more… photoshopped IKEA illustrations.
No pictures of this step, because I paid Ashland Glass to do it for me. The IKEA glass is tempered, which means it can’t be cut, so I had a new piece of glass cut to fit. $34, which isn’t cheap, but $34 + the $60 tables is still significantly cheaper than anything I found elsewhere.
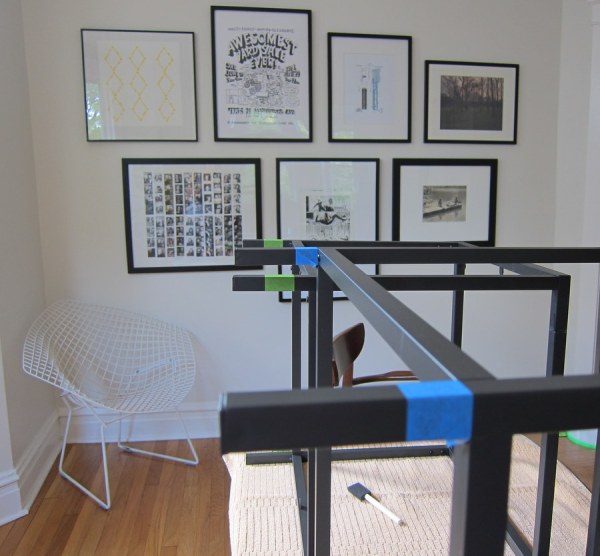
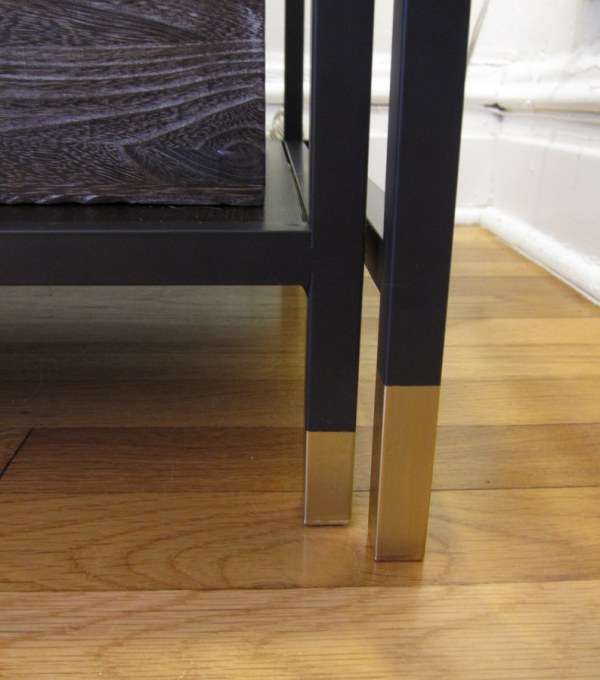
Step five, don’t you know that the time has arrived… to dress it up a bit with some gold dip-dyed legs. I tried three different types of gold paint and will compare the products in another follow-up post that you can await anxiously: Plaid’s Liquid Leaf in Brass, Rub ‘n’ Buff in Gold Leaf and Krylon’s Gold Leafing Pan. I liked Liquid Leaf best. (Update: see Gold Leaf Paint Options)
Pro tip!: start with the back legs. Not as big a deal if you mess them up. I learned that FrogTape didn’t create nearly as sharp a line as good ol’ 3M Scotch Blue.
And we’re done!
You may also be interested in:

I could use some guidance in strenthening grampa Amors fold down dable for Briannas use!
This is awesome, Marti. The real question is, why didn’t IKEA do that in the first place?!
I know, right? So much work just to make it how it should have been made in the first place. But assembling an IKEA table as-is wouldn’t have made for a very interesting or educational project, so I’m not complaining.
These look sharp and I love the gold dyed legs. Ties in nicely to the tchotchke!
Thanks! My very first tchotchke. Wanna bet on whether it will be Jarrod or Cora who breaks it? My money is on Jarrod.
This is incredible! I am very impressed- nicely done.
.
Thank you! I expect great things from your new workshop as well. Weren’t you going to start a blog called Kim’s Korner…?
Awesome. Great work, Marti. They look super-fantastic!
Thanks, Jen!
Wow! You cut metal. They look brilliant.
Thanks! Cutting metal was rather scary – like attaching 10 sparklers to my saw and lighting them all at once. Any hope of you resurrecting your blog?
I absolutely love the gold toes, perfection!
Thank you!
I am with the others, Ikea should of done that to begin with. Maybe you will see it in the next catalogue, they seem to be watching the hacks! It looks fabulous and the gold tipped legs – perfection!
Thanks! Definitely don’t understand how IKEA imagined this table set would be used as-is.
I love your couch — where is it from?
It’s the Eugene from Room & Board – I think it’s available only as a custom sofa now.
Wow I can’t believe you did that! Looks fabulous but definitely way harder than the usual ikea hack. I actually use the nesting tables as a coffee table and they are great since we have so little space so the smaller one can be brought out to the side when needed. Works for me but of course not as chic as yours. :)