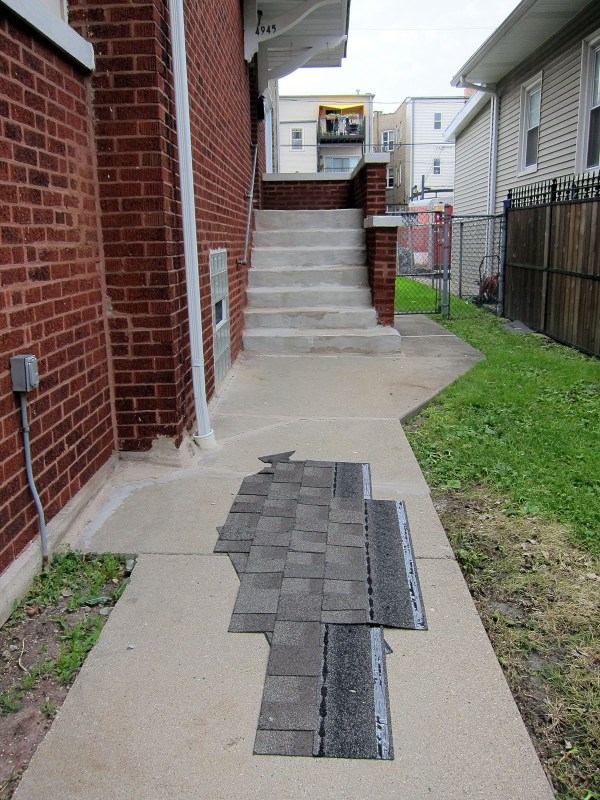
When we purchased our house in July 2015, the roof was pretty high on our inspector’s list of “things that are bad about your new home.” That was no surprise to us because a big section of shingles was on the sidewalk.
Our inspector advised us to fix the worst areas immediately and plan for a replacement within a few years. A big section blew off again during a strong wind storm in early 2016, and I paid $150 for another make-it-work repair job.
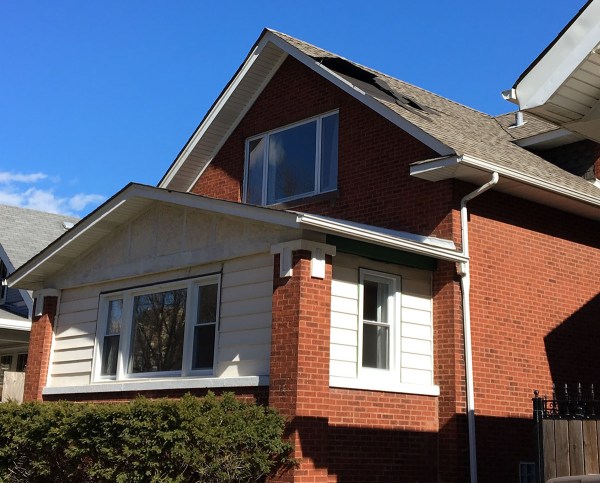
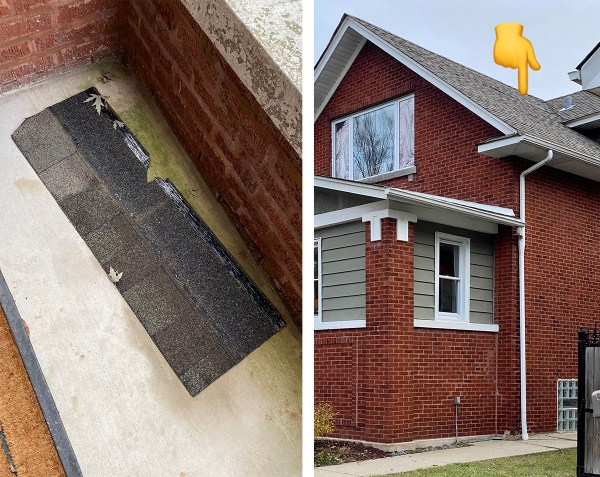
When a small section of shingles landed on our front stoop early this spring, it was excellent motivation to finally get a new roof. We had it done in early March.
Picking out a new roof was easier than most house decisions I’ve made. There are two major options for high-quality asphalt shingles: Owens Corning “TruDefinition Duration” and GAF “Timberline HD.” The roofers I spoke to said they’re comparable products, so there was nothing to stress about there. And, unlike paint, there are only a few color options available. So, it was easy to land on Timberline HD in Charcoal.
The only ~special~ thing I chose was a ridge vent. As I mentioned a while back, we’ve had issues with ice dams. The heat in our attic causes snow to melt off our roof, which refreezes in and over our gutters.
 (Diagram from the Chicago Bungalow Association’s Bungalow Maintenance Guide.)
To prevent ice dams, you’re supposed to improve your attic insulation and ventilation. We already did the former, and now we have the latter. A ridge vent lets warm air escape from the attic before it melts the snow on the roof. This Crash Course in Roof Venting article is helpful.
I got quotes from three roofers. They ranged from $10k to $15k. Adam Milewski’s quote was the lowest and he was recommended by my window/sunroom contractor – hooray for another easy decision! Our roof replacement job included:
- Removing all existing shingles down to the wood decking
- Inspecting the wood condition – ours proved to be in good shape, so no replacement was required
- Installing new ice/water shield on gutter edge – in the event of future ice dams, this underlayment helps protect the wood
- Installing new felt underlayment
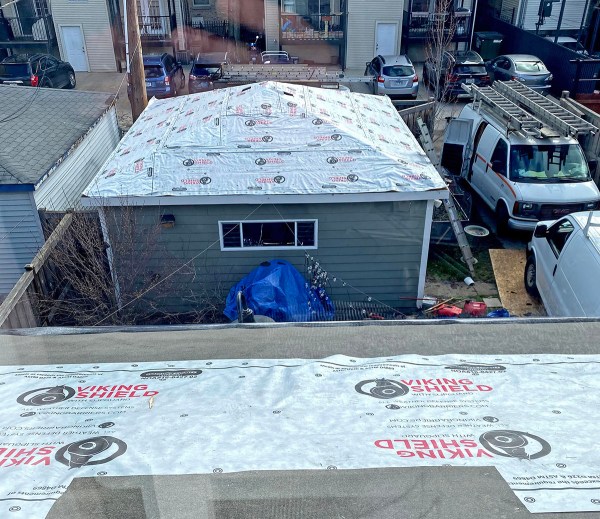
- Installing new ridge vent and shingles
- Installing new chimney flashing and counter flashing on the walls
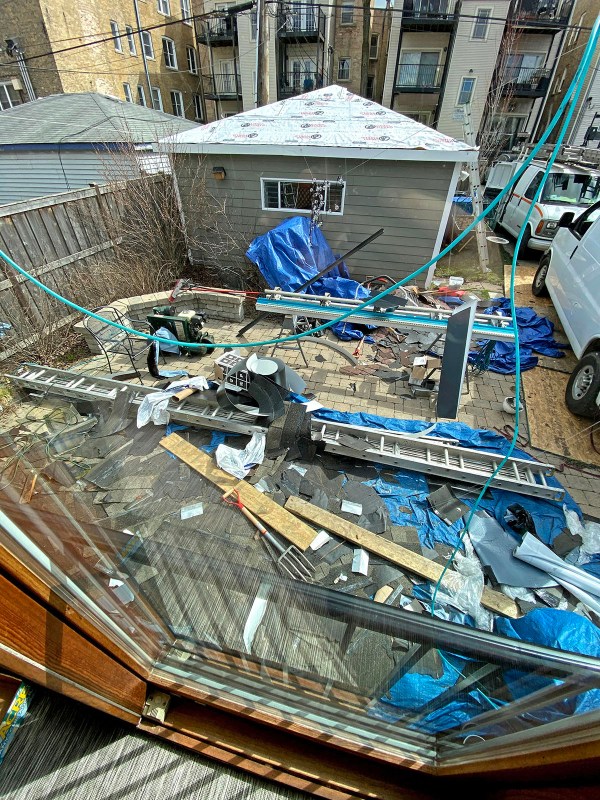
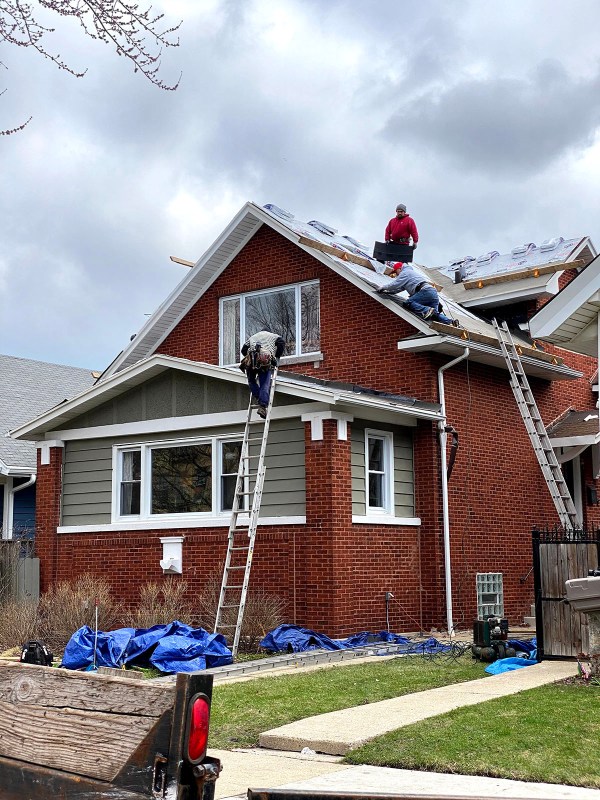
Amazingly, all of this only takes a day. Adam and his crew were hard at work by 8am. They started by scraping off the existing roofing materials.
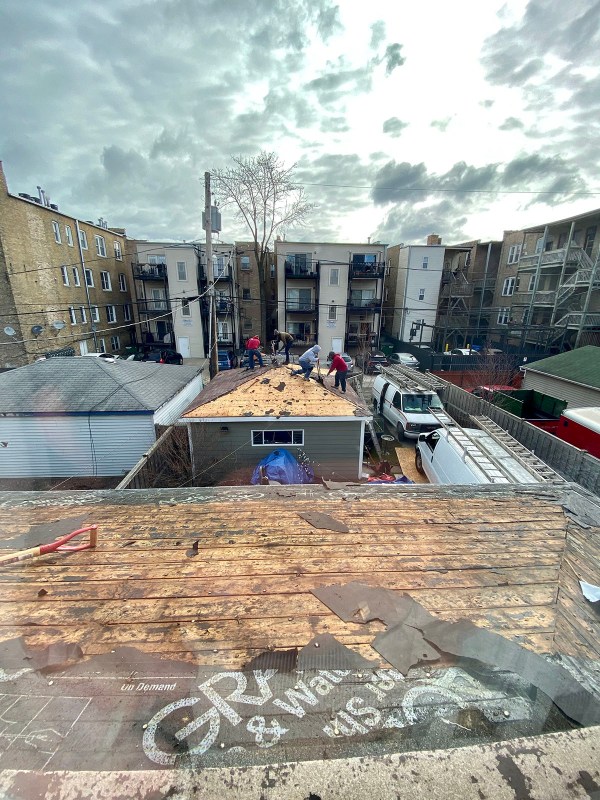

At 10am, Adam took this photo of the bare roof:
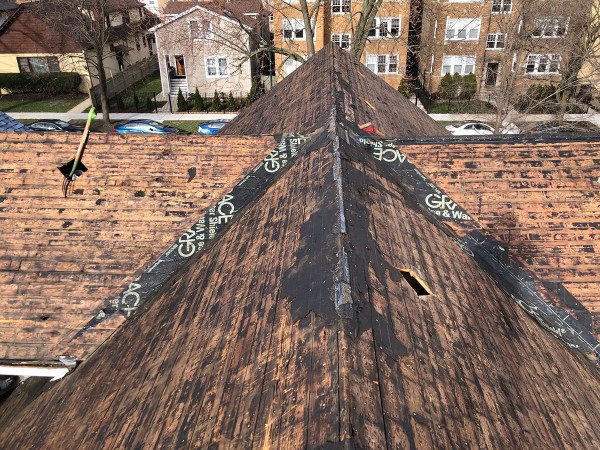
It’s quite messy work.
They used this sweet ladder platform hoist to lift the heavy bundles of shingles to the roof:
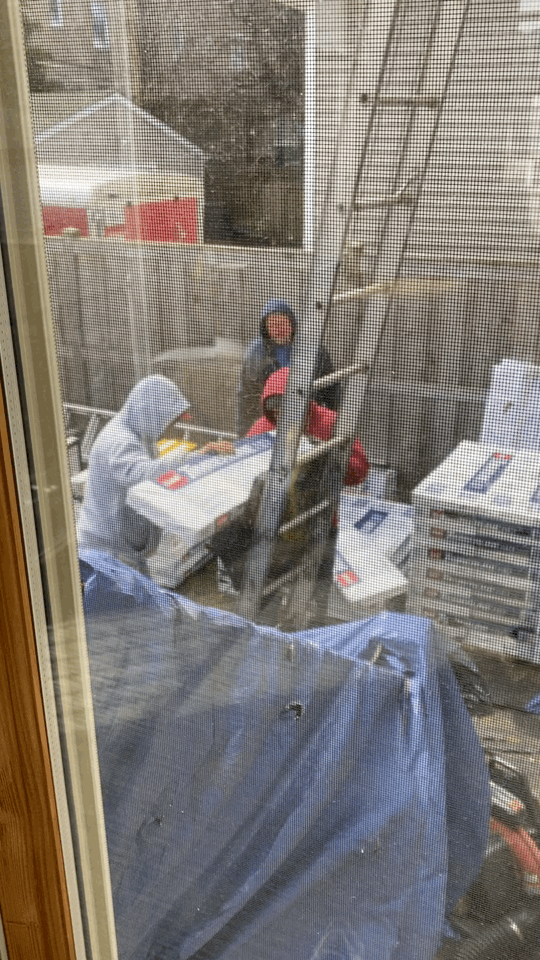
And they used this sweet job-site microwave for their lunch:

The crew worked remarkably quickly.
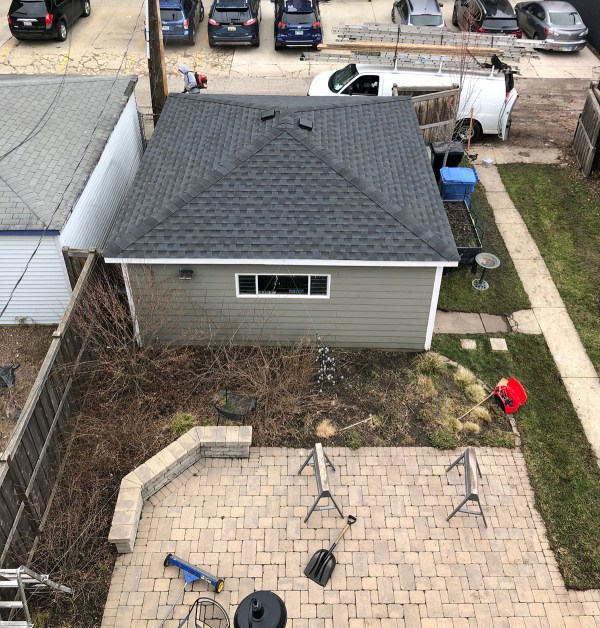
By 3pm, they were all done! They did an impeccable job of cleaning up our yard and, more importantly, our neighbors’ yards.
Before:
And now – the spring greenery is a big improvement, too!
Before: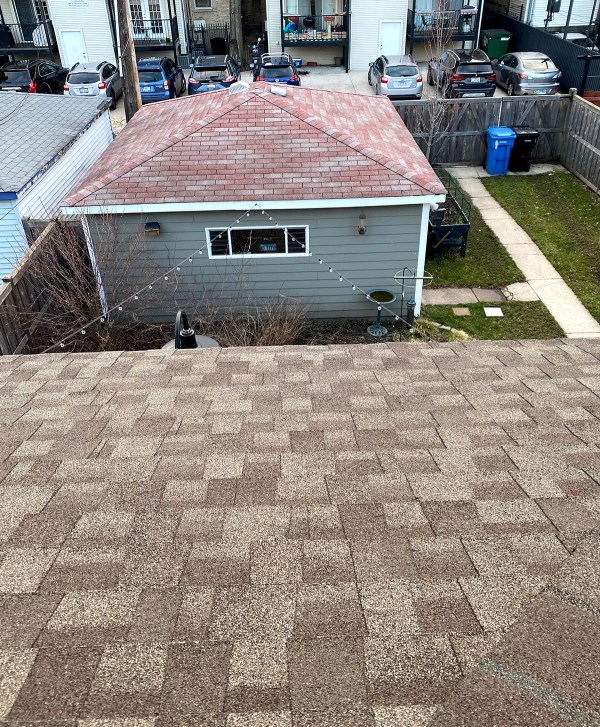
And now – the new black vent caps on the garage were an unexpected bonus of this project: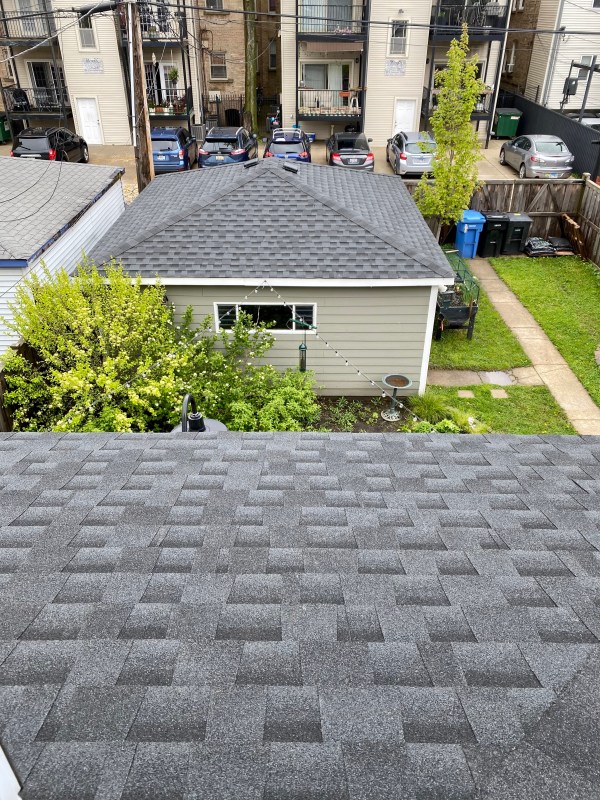
Adam shared this photo with me – you can see the ridge vent at the peak of the roof: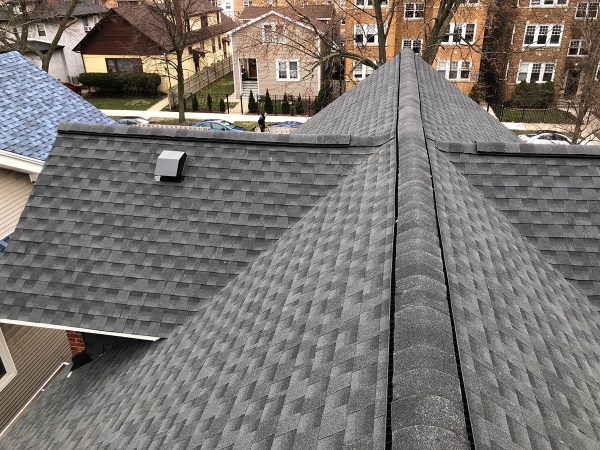
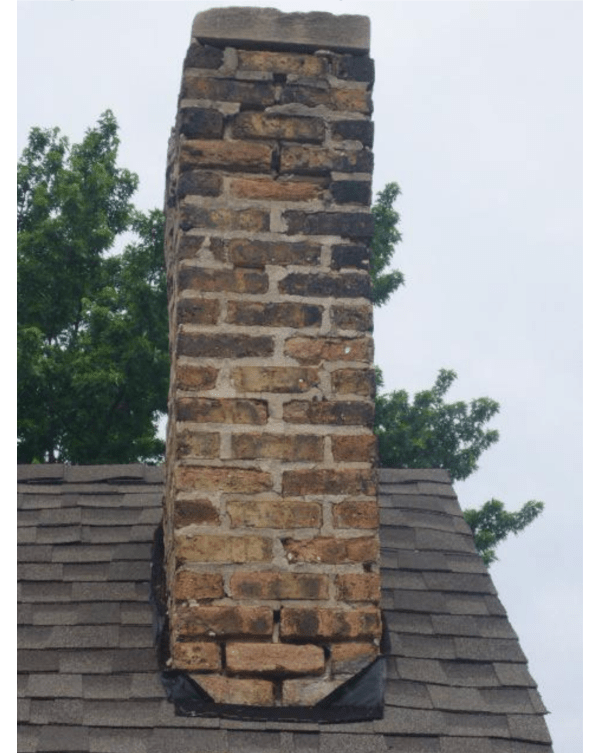
I started this post talking about our home buyer’s inspection, so that’s where I’ll end it. Our inspector included this chimney photo in our report, noting the poor roofing job, the failing tuck pointing, the insufficient flashing, and the missing chimney cap. Over the years, we’ve fixed all of those things!
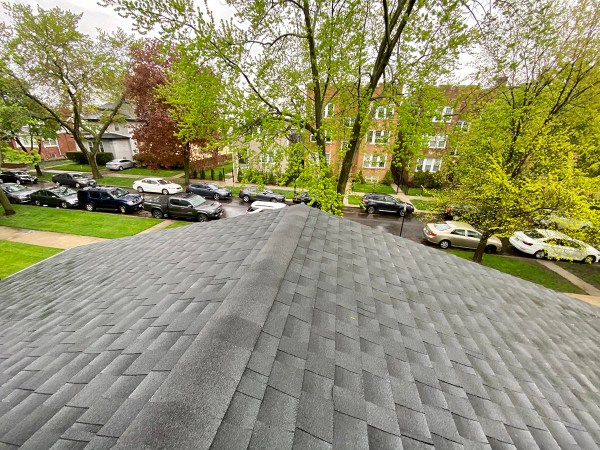
And here’s where we are today:
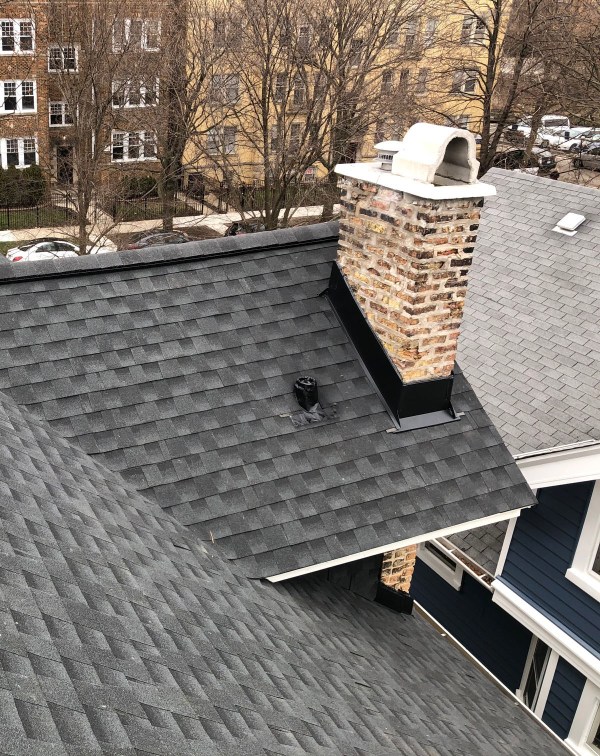
I literally never see this view, but it feels really good to know that slowly and steadily we’re making this house a better place, and not just cosmetically. I think that’s a good reminder during the One Room Challenge – while it’s super fun to have dramatic makeovers within 6 weeks, homeownership is also about the long game.
You can check out all the other guest participants on the ORC website.


Your new roof looks fantastic! Peace of mind about not needing to worry about the roof leaking is priceless.
I’m always nervous about the roof on our rowhouse. It consists of built up layers of Modified Bitumen (an asphalt product applied in layers with tar) on top of shingles of an unknown age (at least 100+ years). After having a chimney removed, we found out it is about three to four inches thick, which is much thicker than it should be (and explains why we have had cracked rafters). We’re going to have to tear it down to the rafters and start from scratch. 🤪🤪
We also do not have any insulation in the attic, but I want to wait until the roof is done before investing in blown in rock wool. Shockingly, our utility bills haven’t been bad given that there is zero insulation.
PRINCESS, GREAT REPORT AND PICTURES, MUCH LOVE, DAD