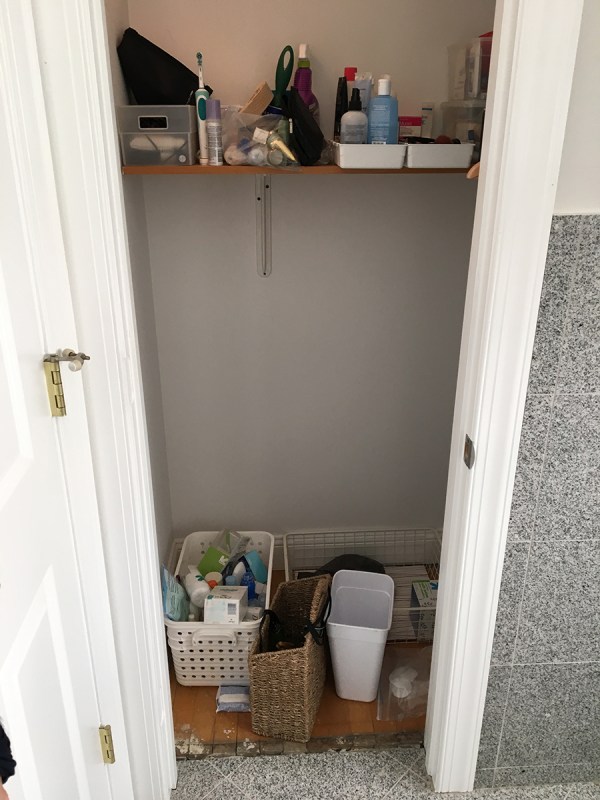
Just a quick post about improvements I made to our bathroom closet. First off: bathroom closet! I’ve never had one before, and it’s crazy nice. There’s a ton of room. But when we moved in, there was only one long shelf in there.
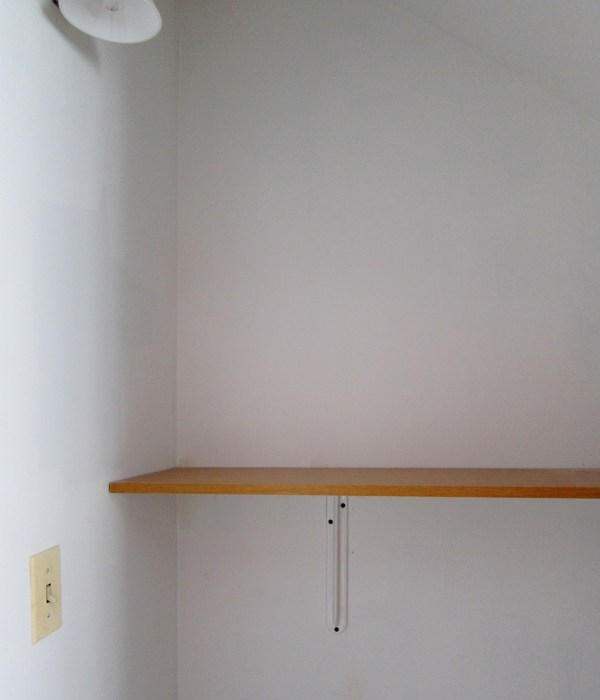
It wasn’t an efficient use of the space at all.

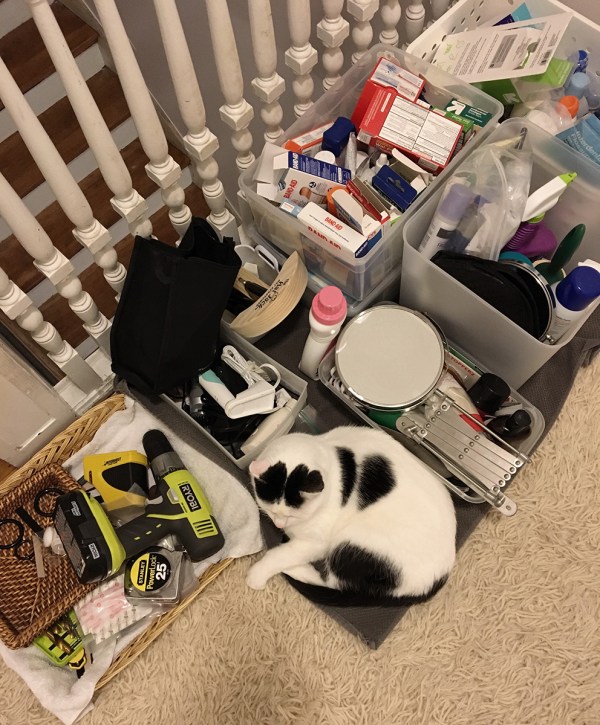
I put everything out on a towel while I was working and Doozy made himself comfortable. Cat logic: “If I fits, I sits.”
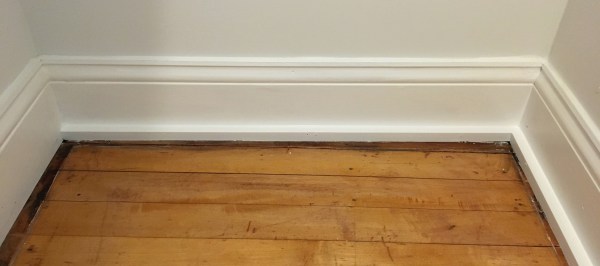
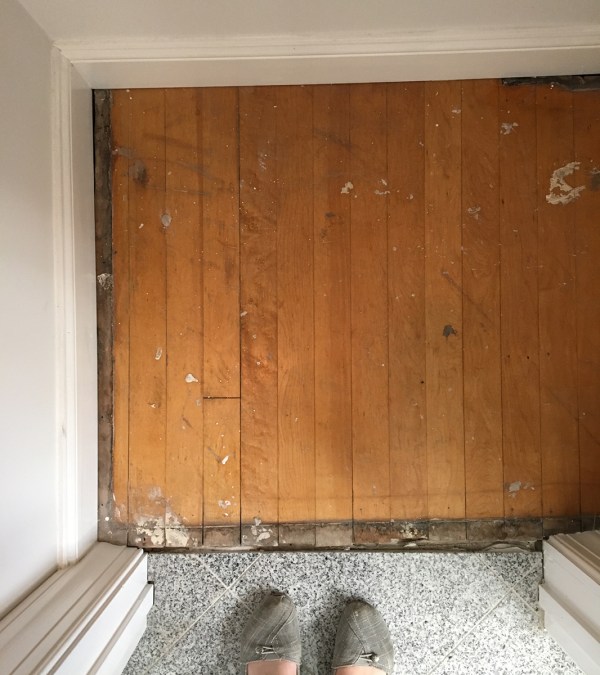
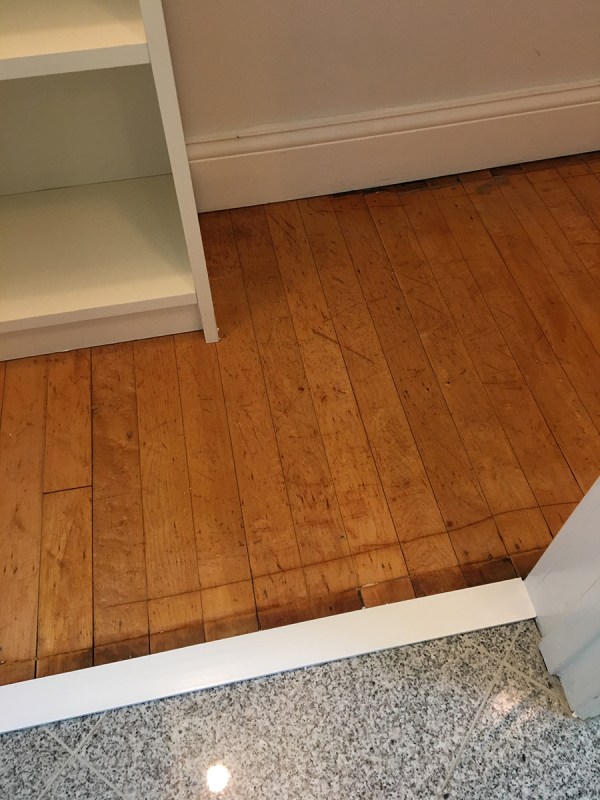
The first thing I tackled was the floor. It was splattered with paint, and had an overall gritty texture that never felt clean even when it was. The perimeter of the floor had been covered and then exposed at some point, so it looked unnecessarily shitty. Sanding it to the point of perfection would have required a belt sander. Given that it’s a closet floor, I didn’t need perfection — I just wanted it to feel clean. So, I sanded a bit, followed by a quick coat of stain and poly. I also added some trim using wood I had on hand, to cover up the gaps around the perimeter.
Before:

After:

Before:

After:
Before:
After:
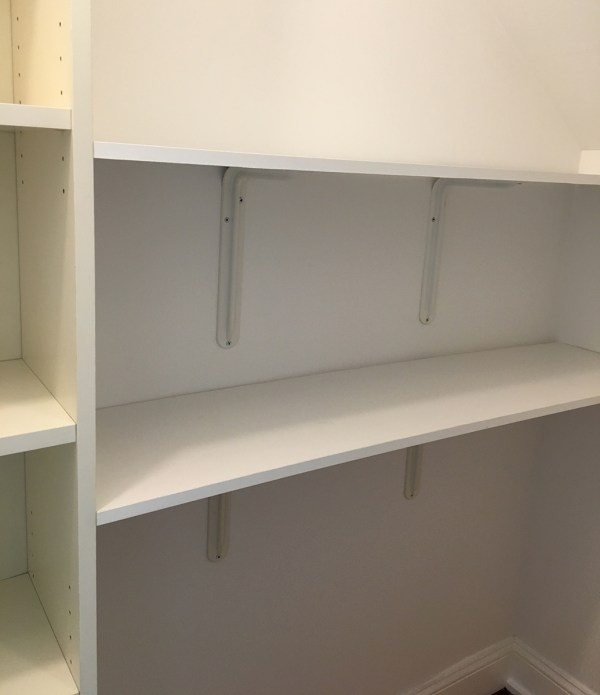
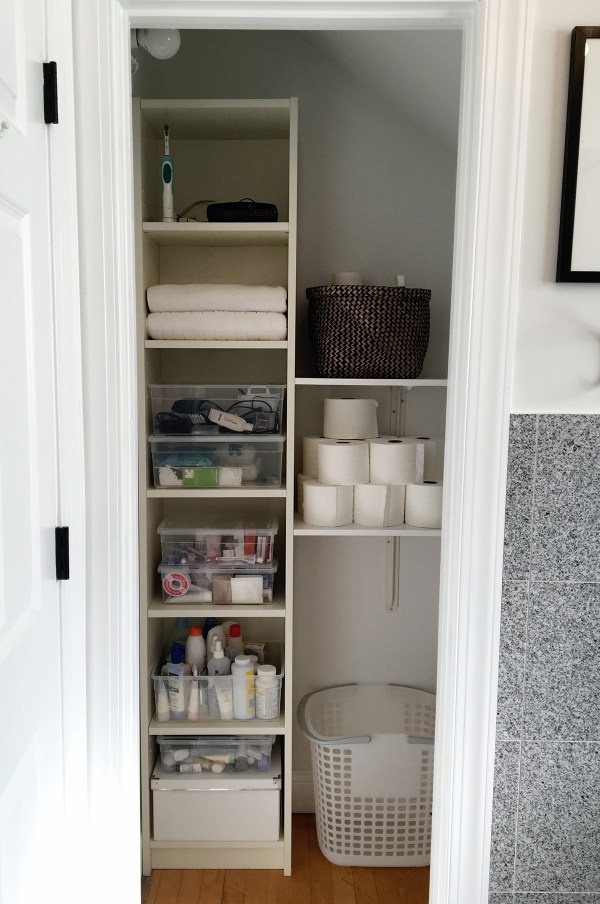
Next up was shelving. We had an IKEA Billy bookcase from two apartments ago that I kept in our basement at our last apartment. I thought about selling it several times, but I decided not to because I knew it might come in handy wherever we lived next. It’s a perfect fit here!

Next to it I added shelves using brackets left in the house and two cheap Rubbermaid laminate boards from The Home Depot. I cut them to fit using my mitre saw. They look the same, but they’re actually slightly different lengths because this closet’s angles are not at all square. When you want a perfectly tight fit, be sure to measure for each shelf, and error on the side of cutting too long – you can always shave off if needed!
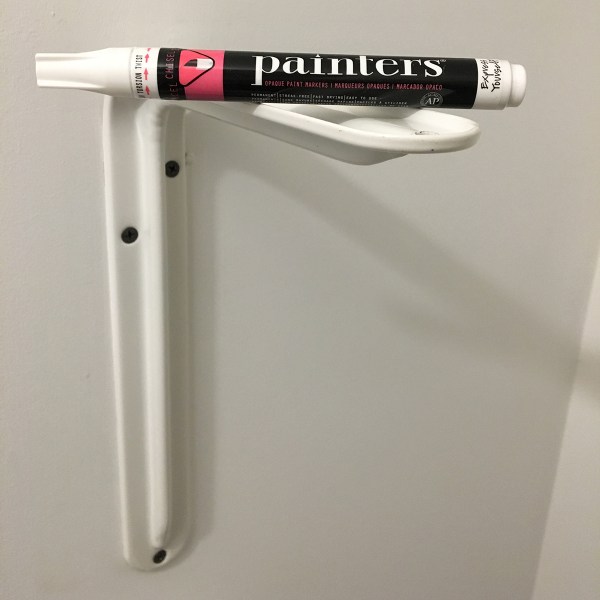
I like to use paint pens for making dark screws less conspicuous.
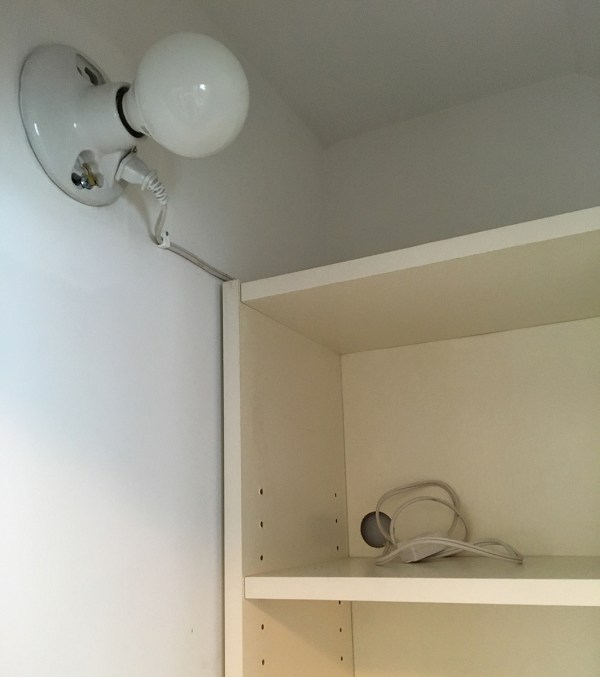
The closet had a light fixture that looked kinda cool, but it was rusted and used antiquated bulbs.

I was very excited to replace this light fixture with a $3 porcelain lamp holder. This created a perfectly-placed outlet so that we now have a place to plug in our radio (AM NPR FTW) and charge toothbrushes, razors, etc.


I think these lamp holders are a great way to add outlets for low-voltage use. If you’re not comfortable with replacing a light fixture (or if you’re not allowed to as a renter), an even easier alternative is to use a screw-in socket adapter.
The drill piece kit I mentioned in this post included attachments for cutting holes – they’re awesome. I had previously hacked through things with a cheap keyhole saw and this is so much easier.

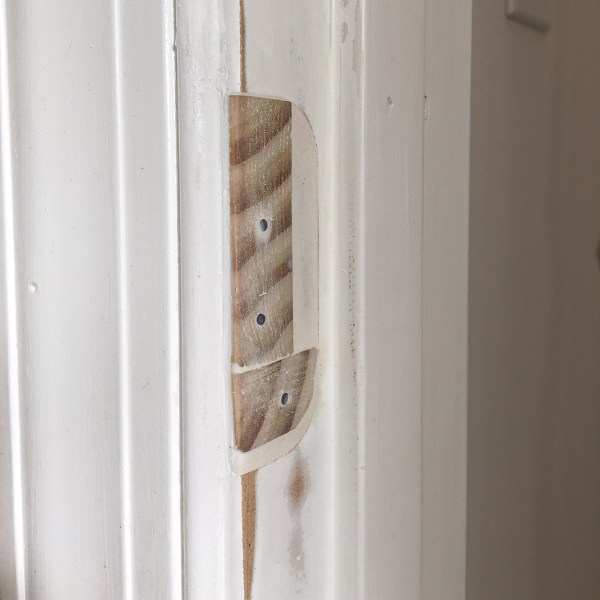
The closet door awkwardly abutted the bathroom door, so I removed it. I plan to hang up a simple curtain instead. I used slivers of wood and spackling paste to fill in the door frame gaps where the closet door hinges used to be.
After:

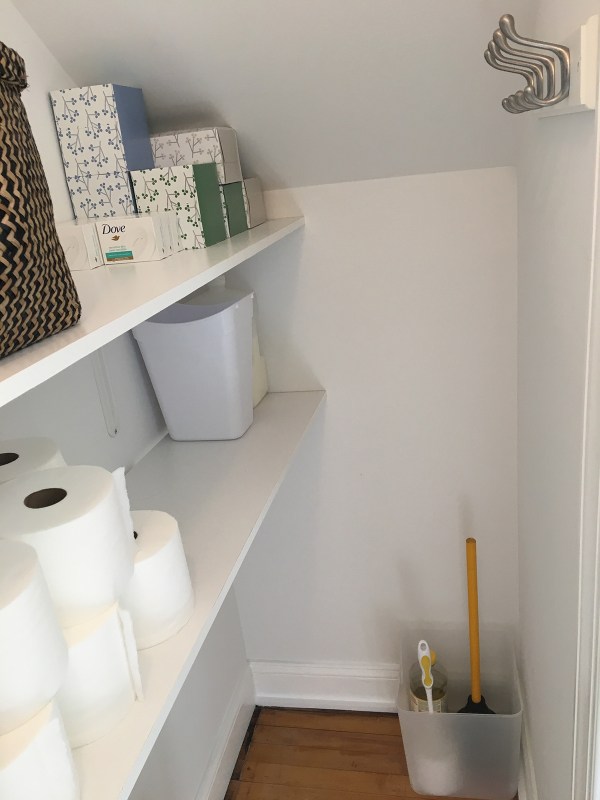
That’s it! Now we have a clean floor, a charging station, and plenty of room to spare.

The basket holds cleaning supplies, which is really nice to have upstairs.
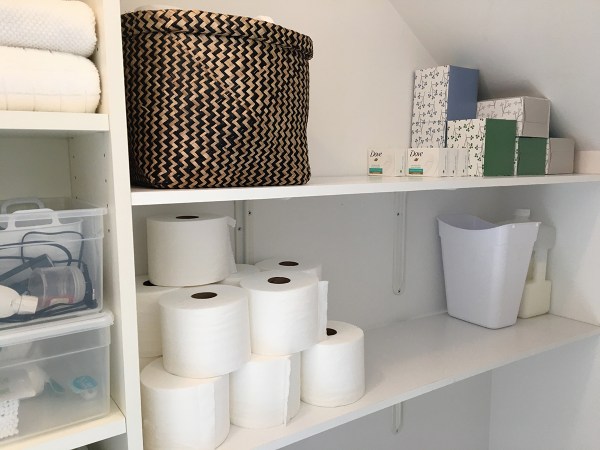
Toilet necessities tucked into the back corner, and a hook rail because Jarrod always hangs out his clothes the night before work like a crazy person. On Friday, he hangs out his clothes for Monday: crazy person!
Before:
After:
I’m waiting for the closet curtain to come back from the tailor and then this bathroom will be finished – photos to come!

i had forgotten how much nastier that floor was! did the previous owners not use drop-clothes or something!? also – i am lulled to sleep each night SOLELY by the knowledge that at least my clothes for the next day are set! it magically counter-acts weightier apprehensions!
oh – and THANK YOU for the hooks!
If I didn’t set out my outfit the night before I would stumble to work in my pajamas.
If you don’t already have a solution for it, a bathroom closet is the best place for your cat litter box! My last apartment had a similar closet, I was allowed to put a cat flap in the door, and the litter I use is flushable. Slide the box out and scoop into the people loo. It was the best thing that ever happened. Ever.
Ha! We also use flushable litter and I can imagine how nice it would be to have right next to the toilet. But our bathroom is a cat-free zone, so we have the litter box on the enclosed back porch.